Raw image: Difference between revisions
No edit summary |
No edit summary |
||
| Line 12: | Line 12: | ||
</source> | </source> | ||
The "wb" option in the open command means that we want to "write" "binary" data (the default behaviour of read would be to read a text file). | |||
When you run the script: | When you run the script: | ||
Revision as of 16:23, 18 November 2013
With a small amount of code, it's easy to dump out a stream of data as bytes:
# raw.py
import struct, sys
out = open("image.data", "wb")
for x in range(100):
    out.write(struct.pack('B', 255))
    out.write(struct.pack('B', 0))
    out.write(struct.pack('B', 0))
    out.write(struct.pack('B', 128))
The "wb" option in the open command means that we want to "write" "binary" data (the default behaviour of read would be to read a text file).
When you run the script:
python raw.py
In Python, struct.pack is a way of converting a number (from 0 to 255) into it's corresponding binary representation as a "byte" or 8 bits (where 0 is all bits off 00000000 and 255 is all bits on 11111111). The code above loops 100 times outputting the bits of the sequence 255, 0, 0, 128.
255 0 0 128 255 0 0 128 255 0 0 128 255 0 0 128...
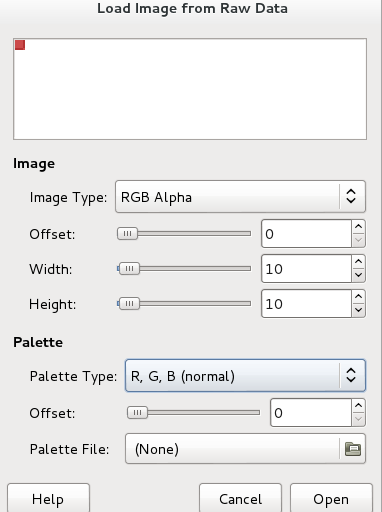
We can then use an image application like the GIMP to interpret this raw data as an image... In this case we tell the GIMP that it should interpret the bytes as being RGBA formatted pixels in the size 10 x 10:
It then interprets the numbers as a stream of pixels in the form:
RED GREEN BLUE ALPHA, RED GREEN BLUE ALPHA, ...
So for the code above:
255 (full) RED, 0 GREEN, 0 BLUE, 128 (half) ALPHA, ...
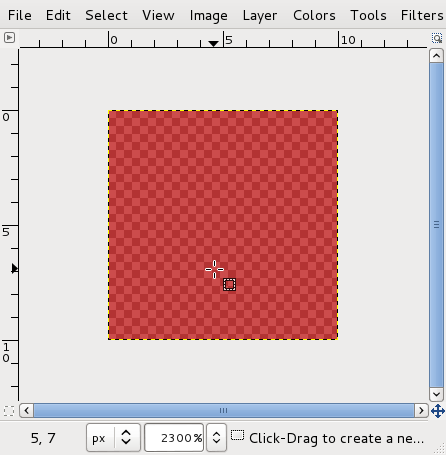
The result is an image 10 pixels wide by 10 pixels tall, where every pixel is red with 50% transparency.
Put a header on it
Working with raw data file can be inconvenient however since everytime you want to view the data as an image, you need to explicitly tell an application (such as GIMP) what the size and format of the image is. We can improve the situation by attaching preceding the raw data with a simple "header" to and follow the guidelines (which specify the order of the bytes) of a specific simple image format.
Targa is an early very simple format for images. It comes from an early manufacturer of video display cards, named Targa, who created a minimal format for files to display on their hardware. The format is still popular today in Game development and other communities for whom the simplicity of the format is useful for "wrapping" raw image data with a header so that it's self-contained and directly loadable by different programs without needing to explicitly specify information width and height and bit depth.
import struct, sys

out = sys.stdout
width = 320
height = 240
header = struct.pack("<BBBHHBHHHHBB",0,0,2,0,0,8,0,0,width,height,32,1<<5)
out.write(header)
for y in xrange(height):
    for x in xrange(width):
        r = 0
        g = 0
        b = 0
        a = 128

        if y < 32:
            r = 255
            a = 255

        if x > 64 and x < 256:
            g = 255

        if y > 120:
            r = 128

        out.write(struct.pack('B', b))
        out.write(struct.pack('B', g))
        out.write(struct.pack('B', r))
        out.write(struct.pack('B', a))
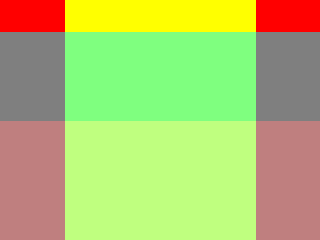
This script outputs a TGA format, which has been opened in the GIMP and exported to PNG
Next: Raw image sequence
Resources
- This example is based on this Raw image example (in Portugese)


