User:Annasandri/1
Working with Arduino
Intro
Arduino is an open source hardware and software.
The software is used to transit code to the memory of the connected machine.
It provides a user friendly environment to type C code: this is possible because it doesn’t show all the processes going on in the machine.
This aspect could be really helpful for beginners but it could turn turn into an obstacle :((.
Alternative method to create a sample
./samplify.sh *name*.wav
Basic commands
https://www.arduino.cc/reference/en/
Collecting ideas (& failures)
“Music is made of the same medium as speech”- reflection on vocabulary
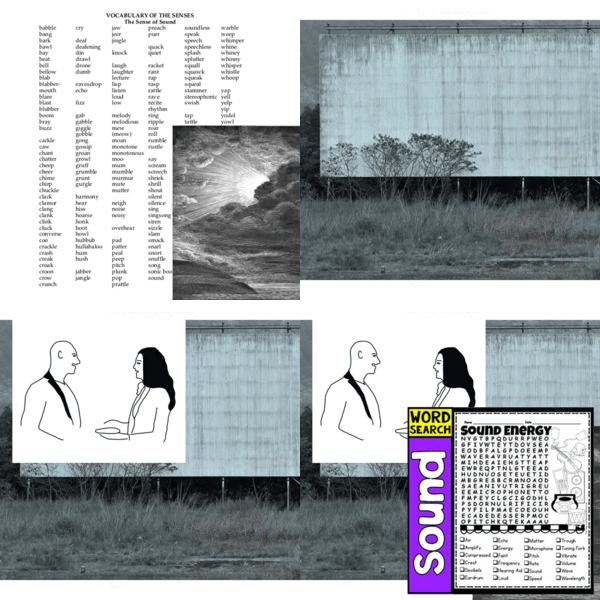
Connections between sound vocabulary and speech vocabulary. Technical sound vocabulary has often a correspondence in terms used to describe our way to communicate.
Some examples:
- pitch 1.[sound]quality that makes it possible to judge sounds as "higher" and "lower" ; 2. [as a verb] move or be moved suddenly, especially by throwing or being thrown; 3. [noun(persuasion)]a speech or act that attempts to persuade someone to buy or do something (es, elevator pitch discourse); 4. [noun] the level of a feeling;
- juxtaposition 1. [noun]the fact of putting things that are not similar next to each other; 2. [literary] is the showing contrast by concepts placed side by side. Example: "Ask not what your country can do for you; ask what you can do for your country" J.F. Kennedy 3. [sound] an abrupt change of elements, a procedure for musical contrast like rhythmic, melodic and harmonic contrast.
Links to sound vocabulary:
http://www.stirlingaudioservices.com/gloss.htm
https://www.historyofrecording.com/Dictionary-Audio.html
Ubuweb sound library:
http://www.ubu.com/sound/
Then I tried to let my Arduino speak
ε(´סּ︵סּ`)з
https://github.com/PaulStoffregen/Talkie
https://www.arduinolibraries.info/libraries/talkie
https://github.com/ArminJo/Talkie
ε(´סּ︵סּ`)з
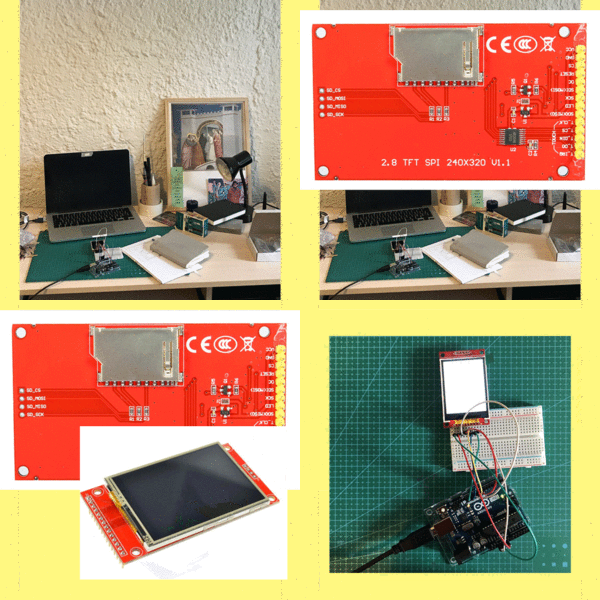
To connect a 1.8 TFT screen with Arduino
Parts used:
- 1x Arduino Uno;
- 1x ILI9341 TFT LCD display;
- Jumper Wires (males);
- 1x Breadboard.
How to wire the screen to Arduino:
LED goes to 3.3V;
SCK goes to pin 13;
SDA goes to pin 11;
DC goes to pin 9;
RST(reset) goes to pin 8;
CS goes to pin 10;
GND (ground) goes to GND;
VCC goes to 5V.
The TFT model that I used had included a SD card reader that also requires other pins.
Libraries to include in the code:
It is not that easy to find the right library for this kind of screens. Most of the tutorials available online suggest to include only the TFT and the SPI library but It didn’t work for me. I made some research and I found out that my particular model of screen needed the Adafruit GFX and the Adafruit ILI9341 libraries (which are the one compatible with my TFT display).
#include <Adafruit_GFX.h>
#include <Adafruit_ILI9341.h>
Visible speech */translation module
Circuit
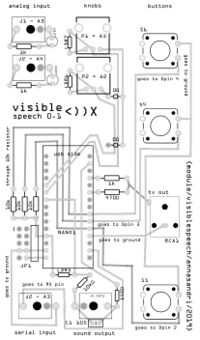
Parts needed for each module:
1x RCA plug (Lumberg Black Right Angle PCB Mount RCA Socket with Tin Plated Contacts, 2A);
2x Rotary potentiometers;
4x buttons;
1x Arduino Nano(+male/female headers);
2x LED;
4x mono jack outputs;
3x 1k resistors;
4x 10k resistors;
1x 150Ω resistor;
1x 470Ω resistor;
1× 0Ω resistor;
1x ceramic capacitor (same as meergranen);
blackheatshrink tube.
Functions *work in progress
To convert images into HEX ( *and make a sort of animation):
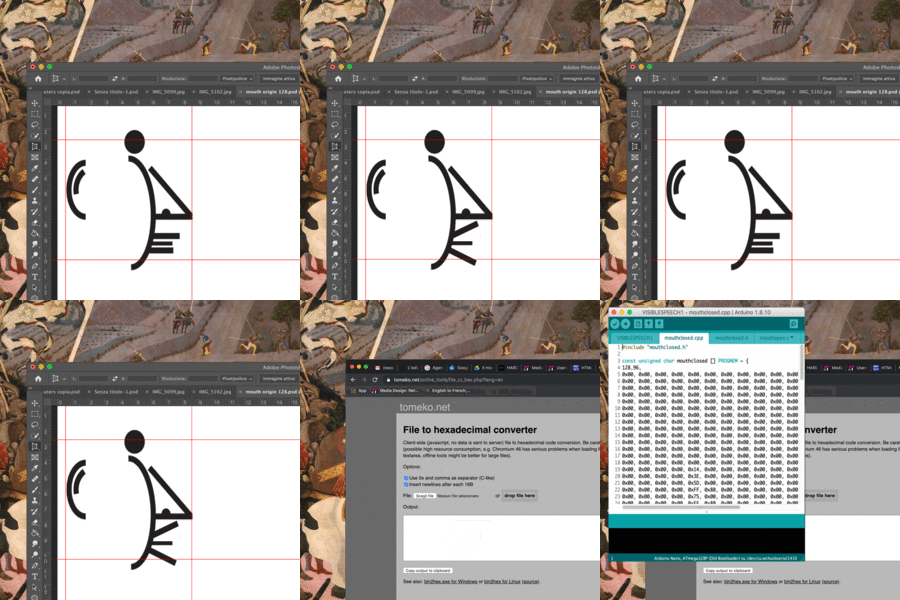
1. I prepared a simple black and white image using illustrator\photoshop. I exported it as a bitmap file with a resolution compatible with the one used by the TV OUT mode (128x96px).
2. I used an online tool to convert the image into hexadecimal code. Not all of the options found in the internet are able to create an array compatible with the arduino code. These are the ones that worked better for me:
- https://tomeko.net/online_tools/file_to_hex.php?lang=en (It works with images of a 128x96 px size that means all the screen in the TVout mode. I don’t know why but when It creates the code it flips the image vertically [*!?] so I flipped it before doing the convertion;
- http://marlinfw.org/tools/u8glib/converter.html (It works also with smaller images, even in a jpg or png format).
3. I added in my Arduino code folder two file extensions (.cpp & .h) copied from the DEMOPAL example. Then I replaced the code of the previous image with the one that I generated with the converter tool:
(.cpp file):
#include “filename”
const unsigned char filename [] PROGMEM  = {
128,96, // image size
hex code
};
(.h file):
#include <avr/pgmspace.h>
#define FILENAME_H
extern const unsigned char filename [];

