Focal Camera: Lenticular Experiment: Difference between revisions
No edit summary |
No edit summary |
||
| (8 intermediate revisions by the same user not shown) | |||
| Line 6: | Line 6: | ||
[[File:Lenticular 1.jpg|thumbnail|Lenticular example]] | [[File:Lenticular 1.jpg|thumbnail|Lenticular example]] | ||
That means I | That means that I lasercut a stripe-shaped mask that would be placed in front of the Negative. This shape would be movable between to positions. | ||
After exposing the first half I would move the striped shape to the second position and expose the missing parts of the negative. | After exposing the first half I would move the striped shape to the second position and expose the missing parts of the negative. | ||
To make sure that the photo will have sharp edges later on the photo the mask (transparent paper) has to be very close to the photopaper. Additionally, the pattern hast to be painted matte-black, like the inner housing of the camera. | |||
=Execution= | |||
[[File:Andreas Lenticular Focal Camera 1.jpg|350px|alt=the lasercut parts|the lasercut parts]] | |||
[[File:Andreas Lenticular Focal Camera 3.jpg|350px|alt=Building the lens|Building the lens]] | |||
In the workshop we learned that each optic can be convex, concave, or planar. We talked about magnification and aberration and on how to combine two optics in right distance to get a lens that is able to reproduce a sharp image on the film. | |||
The combination of my lenses needed a shutter speed of approximately 1/25 with a f-stop of roughly f32. The guillotine shutter that I used for my camera made it easy to perform such a quick shutter speed. | |||
[[File:Andreas Lenticular Focal Camera 4.jpg|350px|alt=Work in progress|Work in progress]] | |||
To make the pattern appear sharp on the film, it needs to be in direct contact with it. | |||
To keep the camera light-tight while inserting something so close to the film I made thin slits in the top and bottom of the camera back, right at the depth of the film. | |||
I inserted a long strip of thin plastic foil, like the ones used to draw on for overhead-projectors. | |||
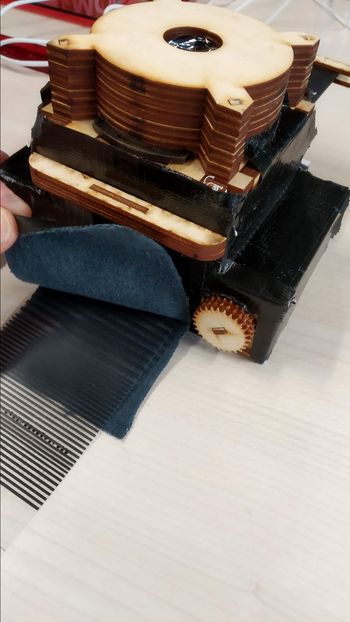
= | [[File:IMG 20181017 174509.jpg|350px|alt=fake leather is protecting the film/transparent paper from light leaks|fake leather is protecting the film/transparent paper from light leaks]] | ||
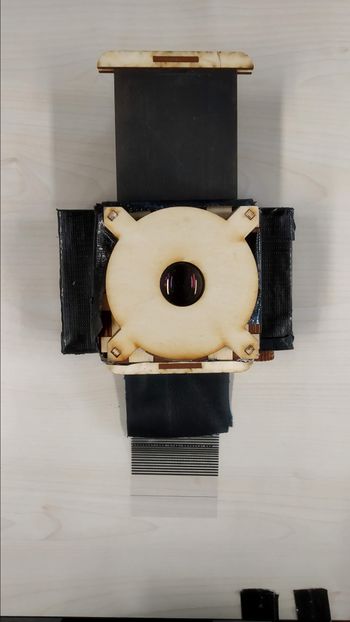
Here you can see the finished camera with black tape to prevent light leaks: | |||
[[File:IMG 20181017 174457.jpg|350px|alt=the finished camera with black tape to prevent light leaks|the finished camera with black tape to prevent light leaks]] | |||
Then I printed various striped patterns on transparent paper and inserted it from top to bottom through the camera. This way I had the ability to shift it by pulling it down or up. | |||
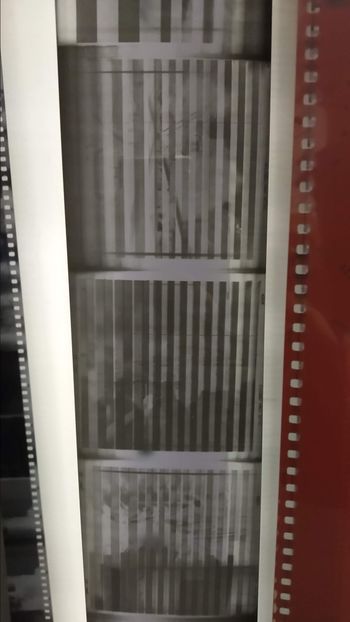
[[File: | [[File:IMG 20181015 174032.jpg|350px|alt=first film developed with this camera|first film developed with this camera]] | ||
=Results= | |||
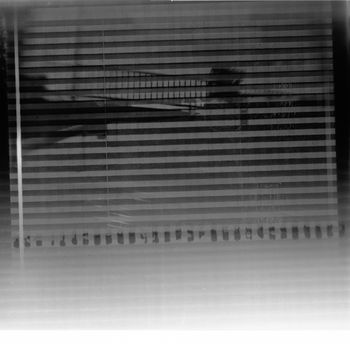
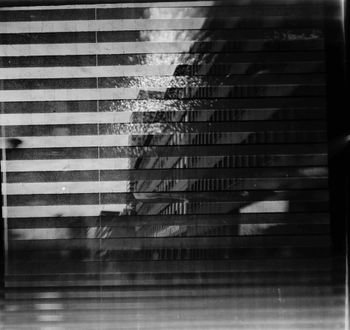
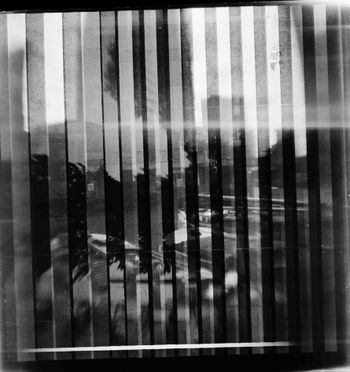
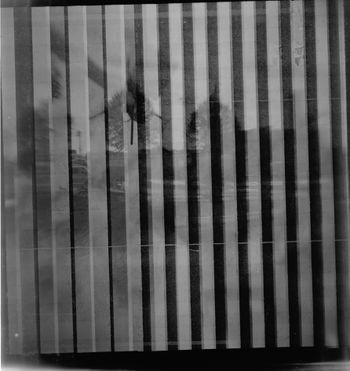
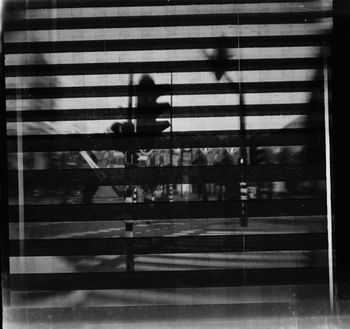
The Results turned out to be a bit too overexposed. I have to take in consideration to perform the shutter even faster next time. | |||
[[File: | [[File:Drosdz lenticular 00.jpg|350px|alt=first film developed with this camera|first film developed with this camera]] | ||
[[File:Drosdz lenticular 02.jpg|350px|alt=first film developed with this camera|first film developed with this camera]] | |||
[[File: | [[File:Drosdz lenticular 03.jpg|350px|alt=first film developed with this camera|first film developed with this camera]] | ||
[[File:Drosdz lenticular 04.jpg|350px|alt=first film developed with this camera|first film developed with this camera]] | |||
[[File: | [[File:Drosdz lenticular 09.jpg|350px|alt=first film developed with this camera|first film developed with this camera]] | ||
=Outlook= | |||
To improve it even more I want to make marks to see how much it is needed to pull it up / down to make the pattern be in the right place. | |||
Additionally, I want to try other shapes like diagonal stripes, zig-zag lines, circles and so on… | |||
Latest revision as of 13:20, 9 November 2018
This page is about my camera that I built in the Thematic A Focal Camera Workshop
Idea
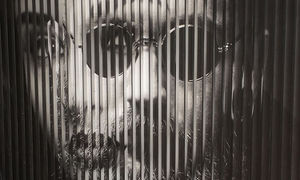
I wanted to explore making photos similar to the lenticular technique:
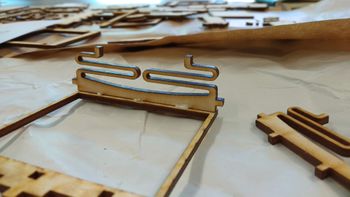
That means that I lasercut a stripe-shaped mask that would be placed in front of the Negative. This shape would be movable between to positions. After exposing the first half I would move the striped shape to the second position and expose the missing parts of the negative. To make sure that the photo will have sharp edges later on the photo the mask (transparent paper) has to be very close to the photopaper. Additionally, the pattern hast to be painted matte-black, like the inner housing of the camera.
Execution
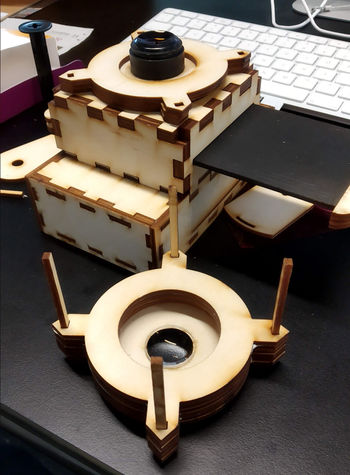
In the workshop we learned that each optic can be convex, concave, or planar. We talked about magnification and aberration and on how to combine two optics in right distance to get a lens that is able to reproduce a sharp image on the film. The combination of my lenses needed a shutter speed of approximately 1/25 with a f-stop of roughly f32. The guillotine shutter that I used for my camera made it easy to perform such a quick shutter speed.
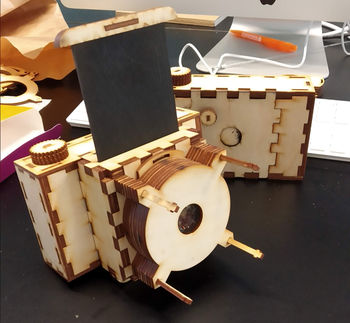
To make the pattern appear sharp on the film, it needs to be in direct contact with it. To keep the camera light-tight while inserting something so close to the film I made thin slits in the top and bottom of the camera back, right at the depth of the film. I inserted a long strip of thin plastic foil, like the ones used to draw on for overhead-projectors.
Here you can see the finished camera with black tape to prevent light leaks:
Then I printed various striped patterns on transparent paper and inserted it from top to bottom through the camera. This way I had the ability to shift it by pulling it down or up.
Results
The Results turned out to be a bit too overexposed. I have to take in consideration to perform the shutter even faster next time.
Outlook
To improve it even more I want to make marks to see how much it is needed to pull it up / down to make the pattern be in the right place. Additionally, I want to try other shapes like diagonal stripes, zig-zag lines, circles and so on…

