Wang SI24: Difference between revisions
Wang ziheng (talk | contribs) m (→Component) |
Wang ziheng (talk | contribs) m (→Component) |
||
| Line 42: | Line 42: | ||
ADXL345 - 3 axis(for the Hands) | ADXL345 - 3 axis(for the Hands) | ||
<br> | <br> | ||
[[File:Cpt.jpg|width=" | [[File:Cpt.jpg|width="100px"]] | ||
==Boards/Chips== | ==Boards/Chips== | ||
Revision as of 23:33, 5 May 2024
Midi Controller
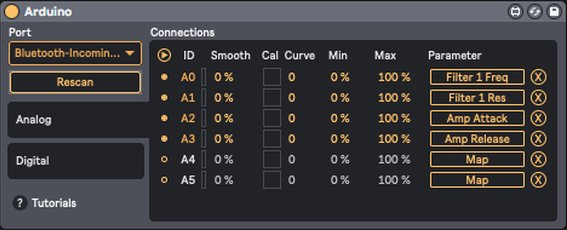
Rain Receiver is actually a midi controller but just by using sensor.
In the process of change the way to control sound, the core logic is to build a connection(mpa) of various items. Same as the Html sound experiment.
Uno is tricky because it not able to use the “midiusb.h”. the midi signal is hard to recognise even with the hairless. I could use the Standard Firmata with Max plugin but the value of the potentiometer is not stable, I attempt to add a ”potThreshold” but don’t know how to modify the Standard Firmata.

In this case, I have to switch to Leonardo or Micro. And buy some potentiometer as well.
I need to download the “midi monitor” on MAC
Reference
https://dartmobo.com/dart-kombat/

https://www.bilibili.com/video/BV1Bj411u72k/?spm_id_from=333.788.recommend_more_video.0
https://www.bilibili.com/video/BV1wx4y1k7pc/?spm_id_from=333.788.recommend_more_video.-1
https://www.youtube.com/watch?v=a8h3b26hgN4
Format
A moving midi controller, using the same parameter to control the move, but then I’ll need a controller to control the midi controller.
A clock with various LDR, activated by the second clock pointer. This could become a clock sequencer.
A sandbox with buildings or cars or trees, the model will be the knob of the potentiometer.
A controller to hold, with several buttons on it.
Exterior
the box probably needs to use plastic but not iron(too heavy), or wood(not stable, even through wood still needs the laser cut) maybe the acrylic board.
Component
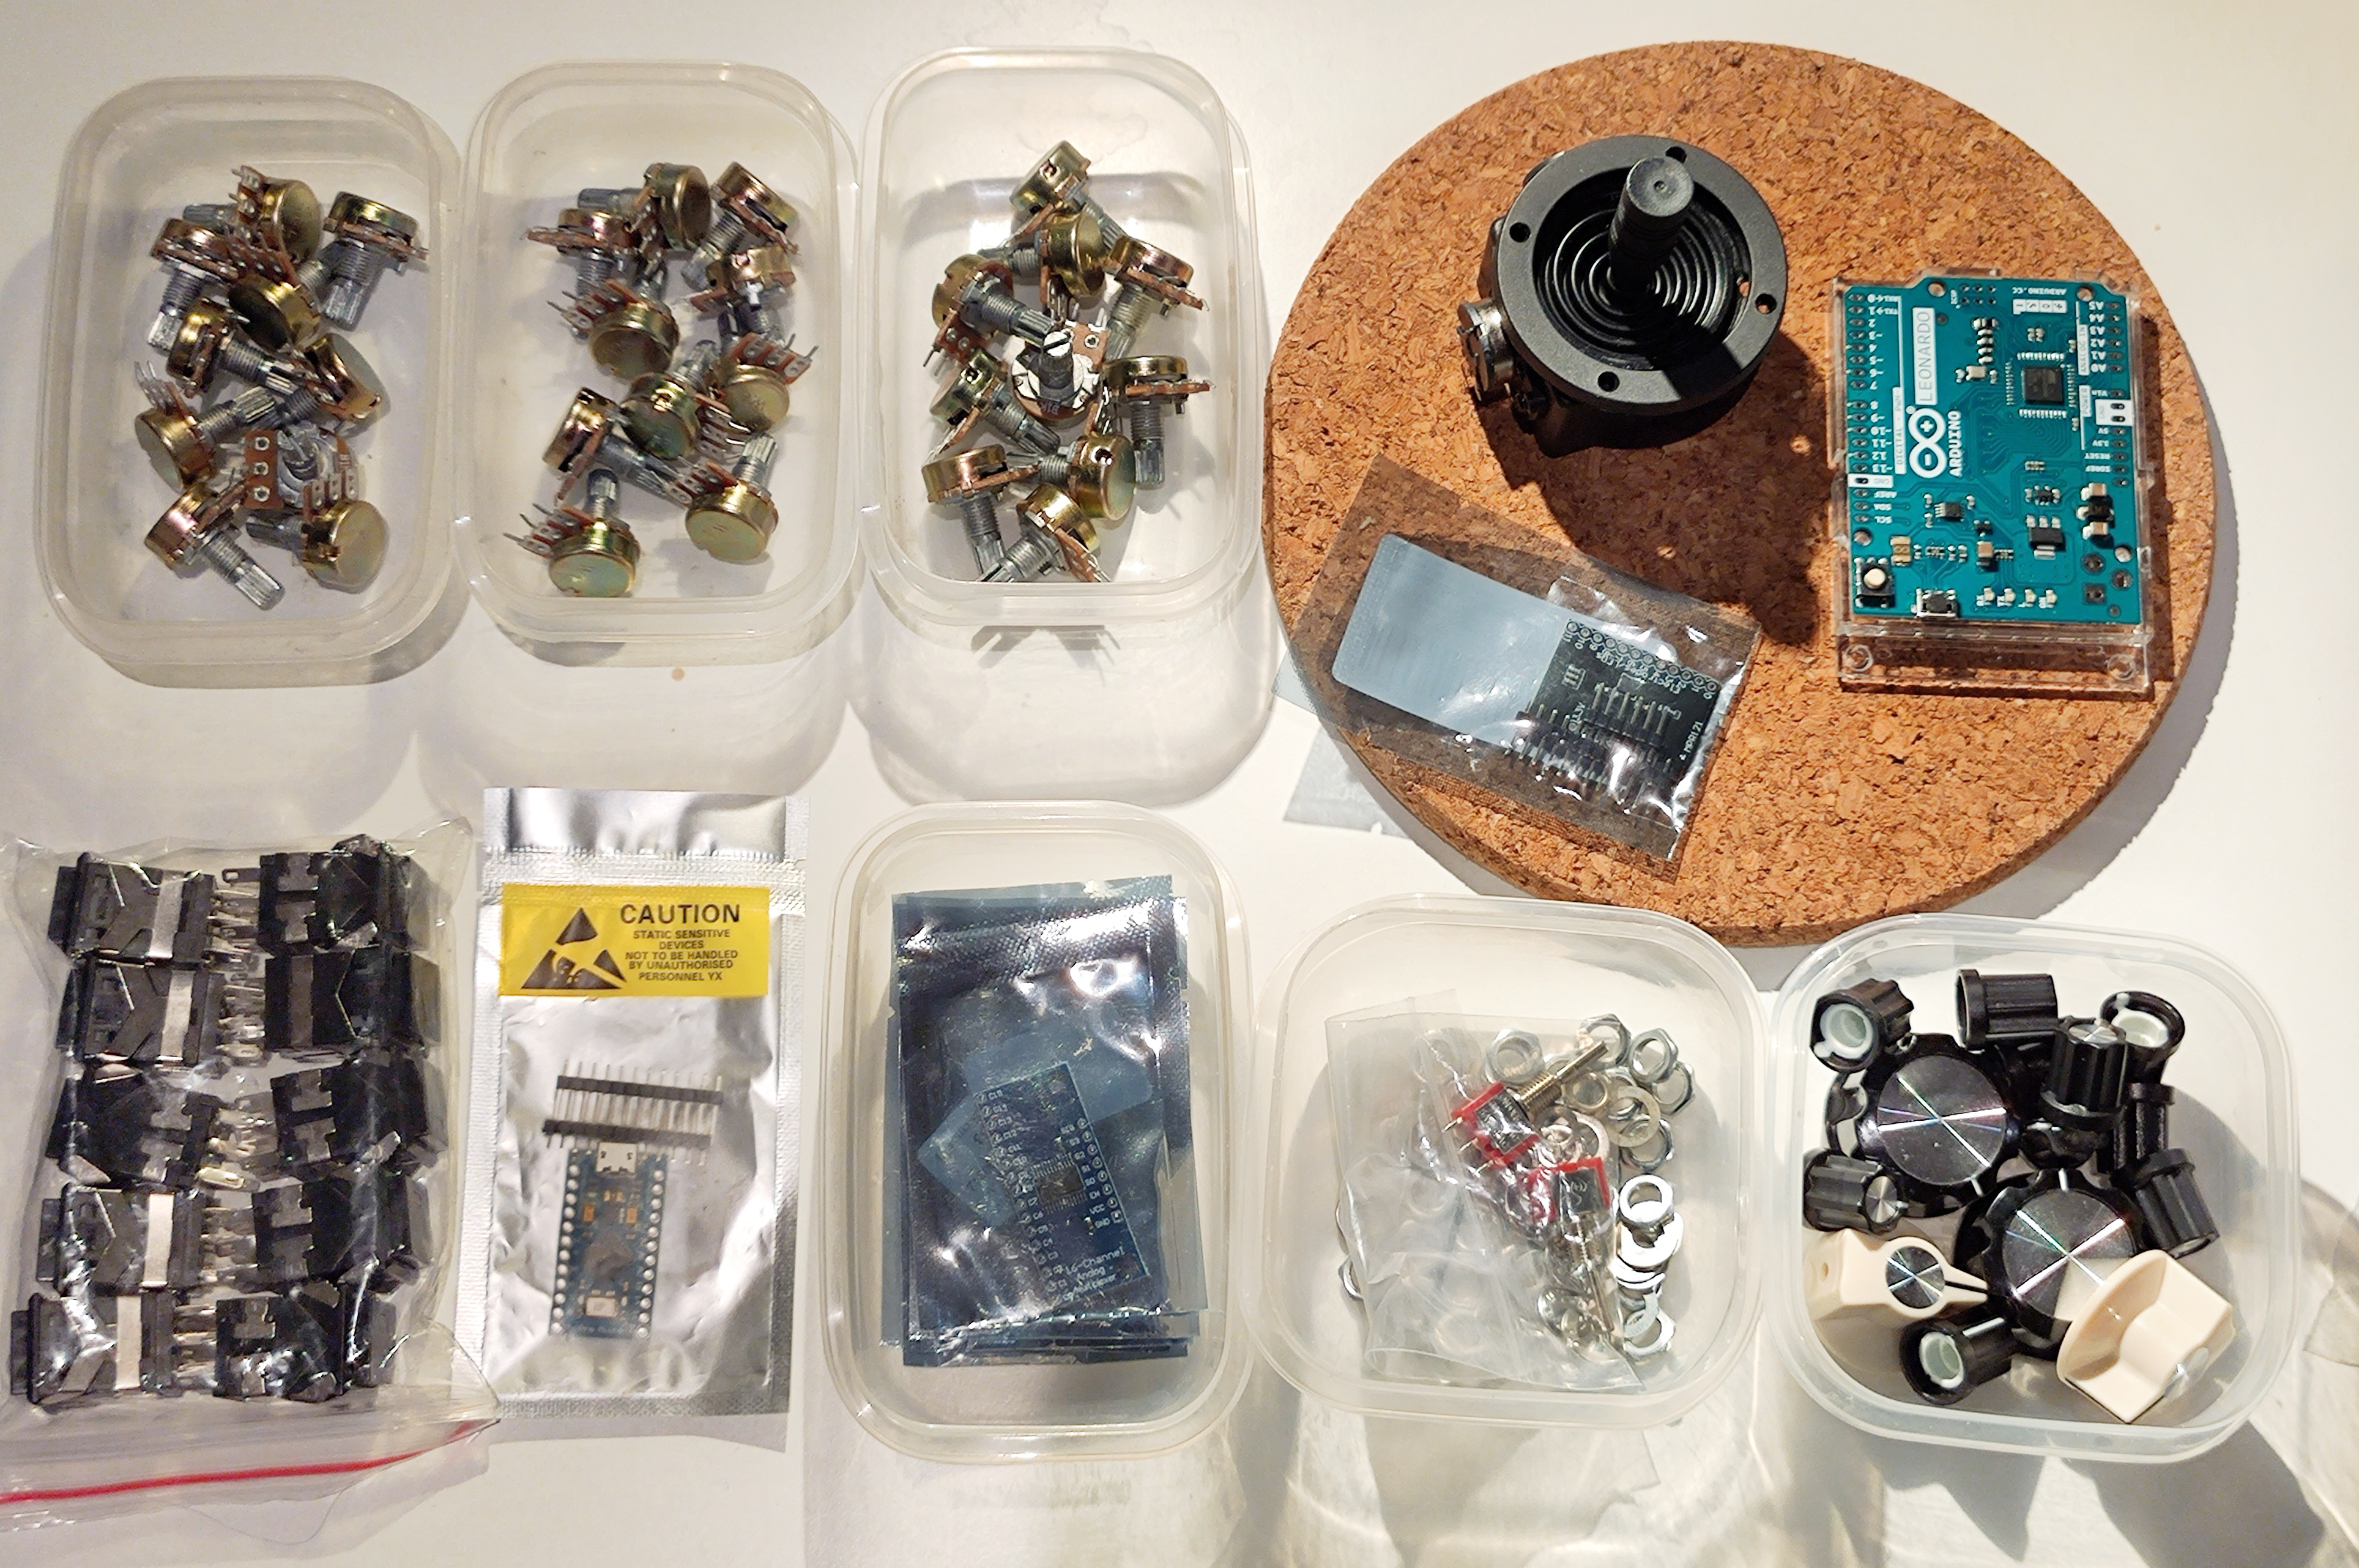
6-8 knobs for potentiometer;
4 or 8 buttons;
a slider or two?
Maybe a LDR?(but how to map the LDR to midi signal??- maybe a button to active the LDR, and a light to show of the LDR is turn on or off, and when using the LDR is the same logic to map in the live. But is the LDR need a cover?)
A arcade joystick potentiometer for controller the 360 degree values like the surrounding sounds.
ADXL345 - 3 axis(for the Hands)

Boards/Chips
Arduino Leonardo / Pro micro. Multiplexer
Code
with the modify X3 version the buttons and potentiometers are finished but still don’t know how to add the slider and the joystick.(for the Ableton live mapping part actually is not a problem, just need to map to the X and Y, the circle is just a appearance. So it is important to get the X and Y parameter from Arduino and transfer to the midi format.)
  #include <MIDI.h>
  #include <ResponsiveAnalogRead.h>
  const int N_POTS=3;
  int potPin[N_POTS] = { A1, A2, A3};
  int potCC[N_POTS] = {11, 12};
  int potReading[N_POTS] = {0};
  int potState[N_POTS] = { 0 };
  int potPState[N_POTS] = { 0 };
  int midiState[N_POTS] = { 0 };
  int midiPState[N_POTS] = { 0 };
  const byte potThreshold = 6;
  const int POT_TIMEOUT = 300;
  unsigned long pPotTime [N_POTS] = {0};
  unsigned long potTimer [N_POTS] = {0};
  float snapMultiplier = 0.01;
  ResponsiveAnalogRead responsivePot[N_POTS] = {};
void setup() {
 Serial.begin(9600);
 MIDI.begin(MIDI_CHANNEL_OMNI);
 for (int i = 0; i < N_POTS; i++){
   responsivePot[i] = ResponsiveAnalogRead(0, true, snapMultiplier);
   responsivePot[i].setAnalogResolution(1023);
 }
  }
void loop() {
 for (int i = 0; i < N_POTS; i++){
   potReading[i] = analogRead(potPin[i]);
   responsivePot[i].update(potReading[i]);
   potState[i] = responsivePot[i].getValue();
   midiState[i] = map(potState[i], 0, 1023, 0, 128);
   int potVar = abs(potState[i] - potPState[i]);
   if (potVar > potThreshold){
     pPotTime[i] = millis();
   }
   potTimer[i] = millis() - pPotTime[i];
 if(potTimer[i] < POT_TIMEOUT) {
     if (midiState[i] !=midiPState[i]){
       Serial.print("Pot ");
       Serial.print(i);
       Serial.print(" | ");
       Serial.print("PotState: ");
       Serial.print(potState[i]);
       Serial.print(" - midiState: ");
       Serial.println(midiState[i]);
       MIDI.sendControlChange(potCC[i], midiState[i], 1);
       midiPState[i] = midiState[i];
     }
       potPState[i] = potState[i];
   }
 }
  }
shopping list
leonardo
expander cd4067
potentiometer 6
buttons
mpr121
joystick
slider
ledbutton
build a tremolo garbage can
Tape Delay
browser extensions
The Browser Sound plugin is a browser-based tool that adds various effects to your audio and video.
This browser-based plugin could easily accessing samples for your projects.
Unlike plugins in digital audio workstations (DAWs), this plugin operates directly in your web browser. It will distort your audio or video when you play them in the browser.
Regarding my recent experiments, I've been using pizzicato.js for sound experiments, but I've found the selection of sound sources to be limited.
To address this limitation, I'm interested in creating a browser-based plugin that allows users turn the Browser into an instrument, a sampler, by searching and using their own samples from various websites and platforms.
What is it?
The Browser Sound plugin is a browser-based tool that adds various effects to your audio and video, which could easily accessing samples for your projects.
Why make it?
1,The plugin addresses the limitation of traditional DAW by providing users with a convenient way to access and manipulate audio samples directly within their web browser. 2,It could expand the possibilities of sound experimentation, allows users turn the Browser into an instrument, a sampler, by searching and using their own samples from various websites and platforms.
Workflow
1, Research on the browser plugins. 2, Sound design part, list the effect could be using on the sampler, design the audio effect chain. 3, Coding part on browser extension. 4, Based on the coding part to fix the sound design. 5, Interface design for the plugin. 6, Based on the Interface design to redesign the code logic. 7, Test and fix any bugs. 8, Using the plugin to record a sound file.
Timetable
Total: 22 days 12 h 0 min 0 s. 1, Research: 3 days. 2, Sound design part: 3 days. 3, Coding part: 5 days. 4, Interface design: 3 days. break: 12 h 5, Bug fixing: 5 days. 6, test and record: 3 days.
Previous practice
Regarding my recent experiments, I've been using pizzicato.js for sound experiments, the sound source is using the SineWave with different frequencies, but I've found the selection of sound sources are limited, it should be able to use any audio source from the another websites and platforms.
Relation to a wider context
The Browser Sound plugin contributes to the broader landscape of digital audio production tools by offering a new approach to sound manipulation and sampling. It bridges the gap between traditional DAWs and web-based platforms, providing users with innovative ways to create and manipulate audio content.
Part II 17/04
I'm sticking with my focus on developing the "browser plugin" and finding ways to expand its functionality. As part of the project, I'm starting with research to gather insights and ideas.
Regarding references
I've explored feedback and found inspiration from projects like Pellow, which explores creating sound from browser- based data, and MIDI controllers, which could potentially be integrated to control the plugin. Experimenting with multiple browser tabs to a mixer is an interesting way to explore.
Accessibility
I've also thought about accessibility factors for the web page. Have you considered features like Speech to Text? There are existing browser extensions like Read in the Dark, Read Aloud, and Zoom In/Out that enhance accessibility. For sound-related extensions, most focus on volume enhancement or equalization, leaving room for a plugin with effects like tremolo, phaser, distortion, or even a sampler recorder, as suggested by Senka.
Does it has potential?
I think there's still some potential for the plugin, especially given the existing landscape of browser extensions and the need for more diverse sound-related tools. Im started working on it, and I'm considering using a simple JSON file and possibly an API to facilitate its development.
