Blurry Boundaries: Difference between revisions
| Line 17: | Line 17: | ||
==STRUCTURE== | ==STRUCTURE== | ||
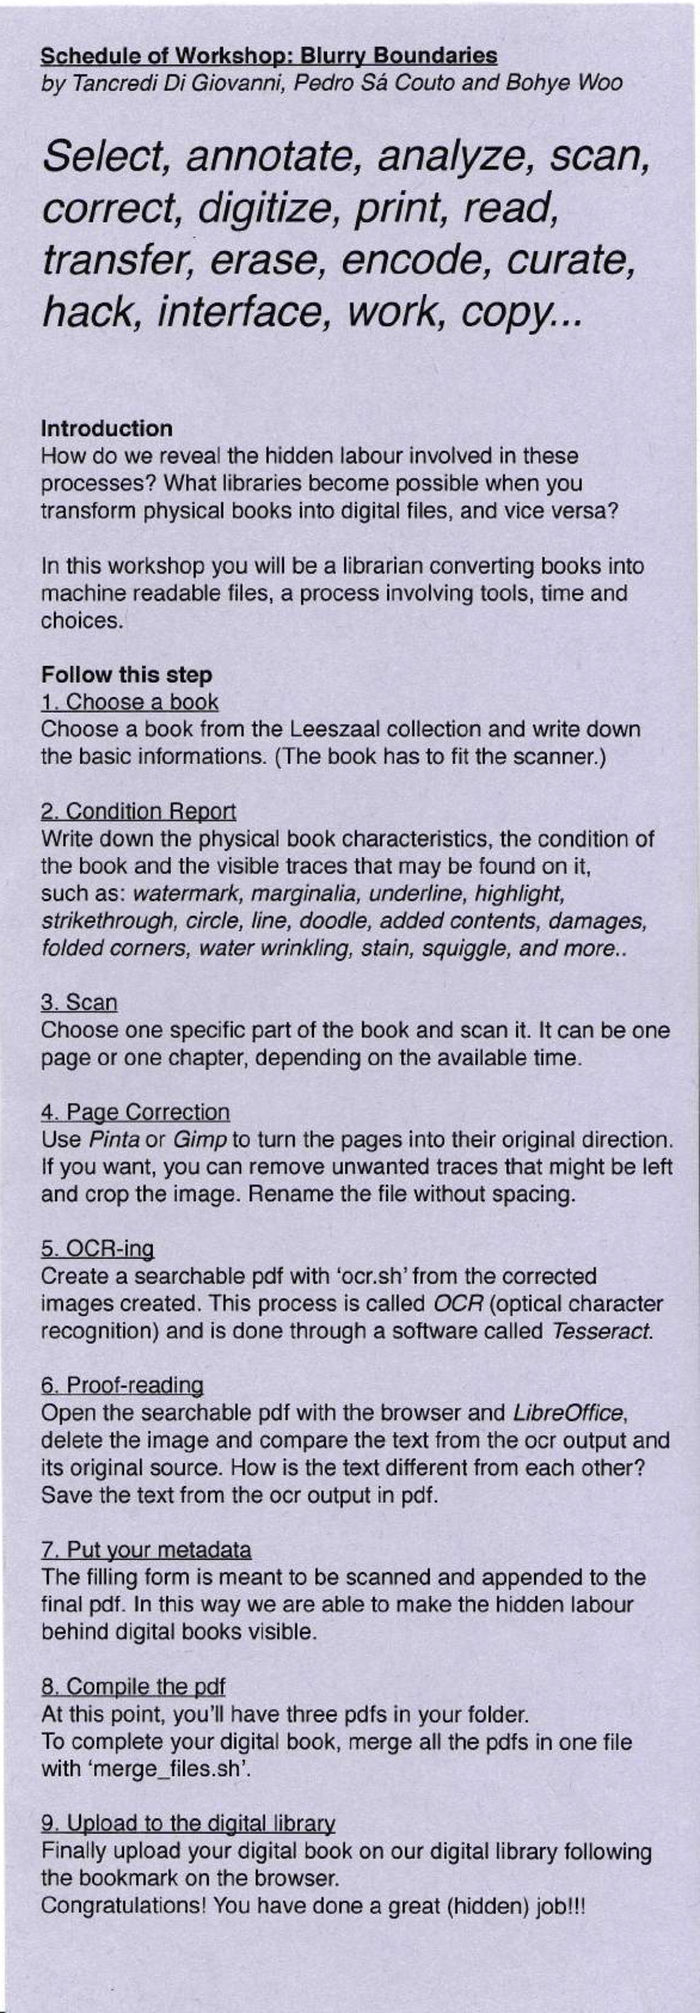
[[File:purplepaper.jpg||700px|frameless|center]] | [[File:purplepaper.jpg||700px|frameless|center]] | ||
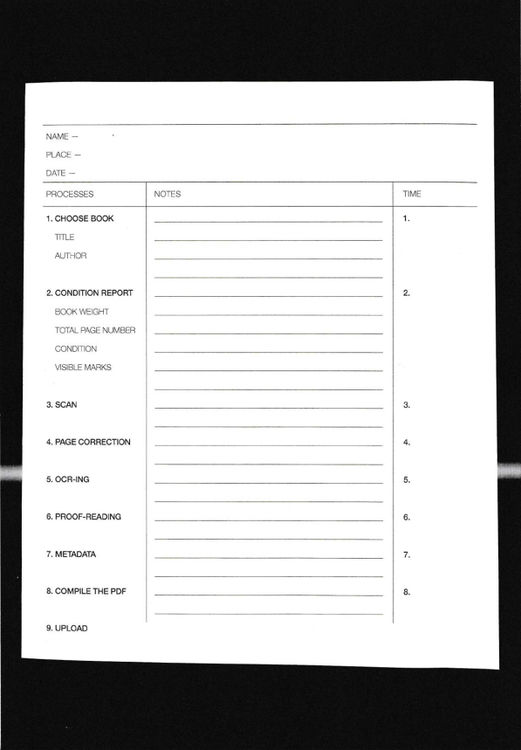
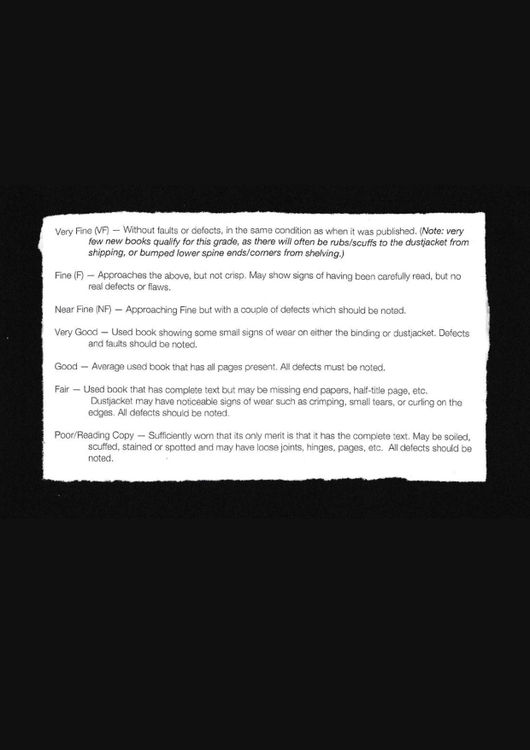
<gallery mode="packed" heights="500px"> | |||
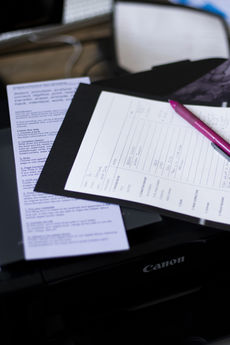
File:Form fill.jpg | |||
File:Condition chart.jpg | |||
</gallery> | |||
==What do you need for this workshop== | ==What do you need for this workshop== | ||
Revision as of 17:56, 9 July 2019
The Library Is Open — Blurry Boundaries Workshop
INTRO
Select, annotate, analyze, scan, correct, digitize, print, read, transfer, erase, encode, curate, hack, interface, work, copy...
What libraries become possible when you transform physical books into digital files, and vice versa? When a digital copy of a book is made for a digital library specific steps are followed. Each of these steps requires a decision – to use tools and to spend time. The work involved in digitising a book is invisible and the digital version often loses its connection to the physical book and the library it came from.
We aimed to reflect upon different topics such as:
the friction between the physical and digital book, what is lost and what is gained when you pass from one format to another.
the physicality and contingency of these passages, the labor involved to produce those copies and its hidden position.
the mindset of the librarian who has to choose how to produce the digital library, which format to chose and what kind of information to reveal.
the possibility of a digital library which provides the history of the book and the people involved in its life.
annotations which reveal information and challenge the common, static idea of the book.
STRUCTURE
What do you need for this workshop
Install Dependencies
- Mac
- brew install tesseract-ocr pdfsandwich rename make pdftk
- Linux
- sudo apt-get install tesseract-ocr pdfsandwich rename make
Installing the scanner
- Windows
- Use USB to connect the scanner ->
- Click send on the scanner->
- The images will be saved on your 'Scan' folder
- Linux
- Install Simple Scan
- https://launchpad.net/simple-scan
- sudo apt-get install simple-scan
- MAC
- Use USB to connect the scanner ->
- System Preferences ->
- Printers and Scanners ->
- Click "+" to add a new scanner ->
- Canon LiDE 120 should appear
Download Git repository
https://git.xpub.nl/pedrosaclout/Workshop_Folder

