Blurry Boundaries
The Library Is Open — Blurry Boundaries Workshop
A workshop given by Tancredi, PEDRO SÁ COUTO, B O B O B O B O B O B O B O B O B O B O B O B O B O B O B O
INTRO
Select, annotate, analyze, scan, correct, digitize, print, read, transfer, erase, encode, curate, hack, interface, work, copy...
What libraries become possible when you transform physical books into digital files, and vice versa? When a digital copy of a book is made for a digital library specific steps are followed. Each of these steps requires a decision – to use tools and to spend time. The work involved in digitising a book is invisible and the digital version often loses its connection to the physical book and the library it came from.
We aimed to reflect upon different topics such as:
- the friction between the physical and digital book, what is lost and what is gained when you pass from one format to another.
- the physicality and contingency of these passages, the labor involved to produce those copies and its hidden position.
- the mindset of the librarian who has to choose how to produce the digital library, which format to chose and what kind of information to reveal.
- the possibility of a digital library which provides the history of the book and the people involved in its life.
- annotations which reveal information and challenge the common, static idea of the book.
WORKSHOP PLAN
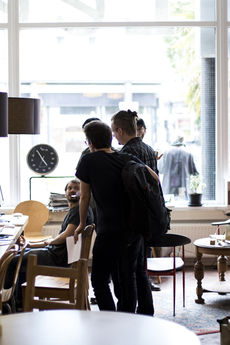
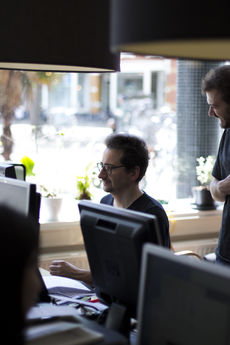
Each participant is assigned to a computer with a downloaded folder for the workshop and all the tools needed already installed. During a short introduction where we will be explaining the aim of the workshop and the steps to follow when producing a digital book, the participants are provided with 3 different papers:
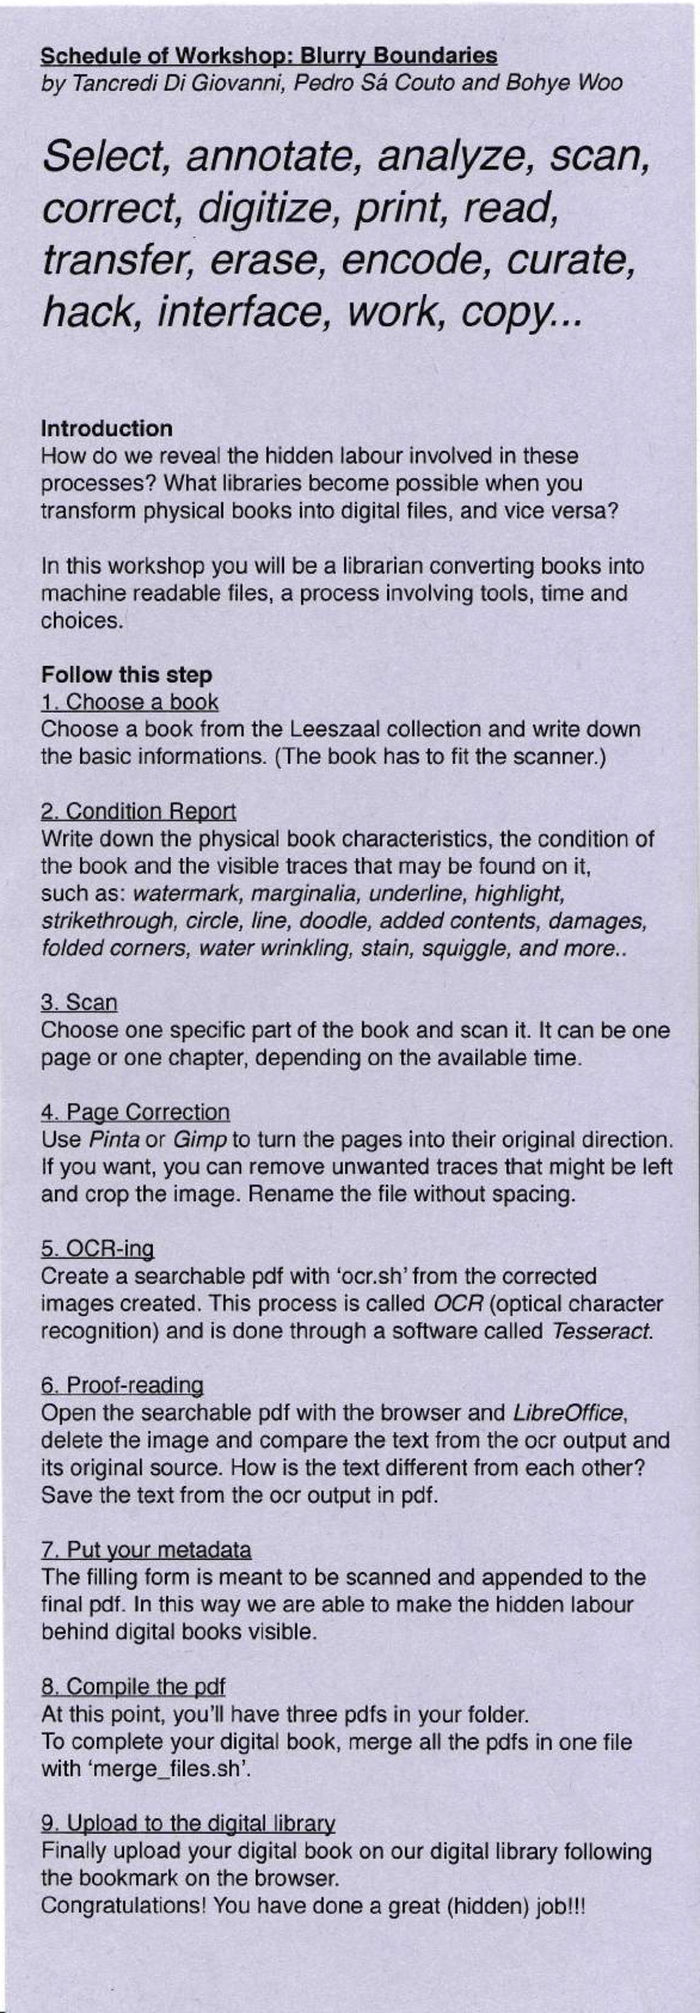
1. A purple sheet (image 01), with all the steps that she/he will be following and a detailed explanation of each. This will create a sense of independence in the participants making them follow their own workflow.
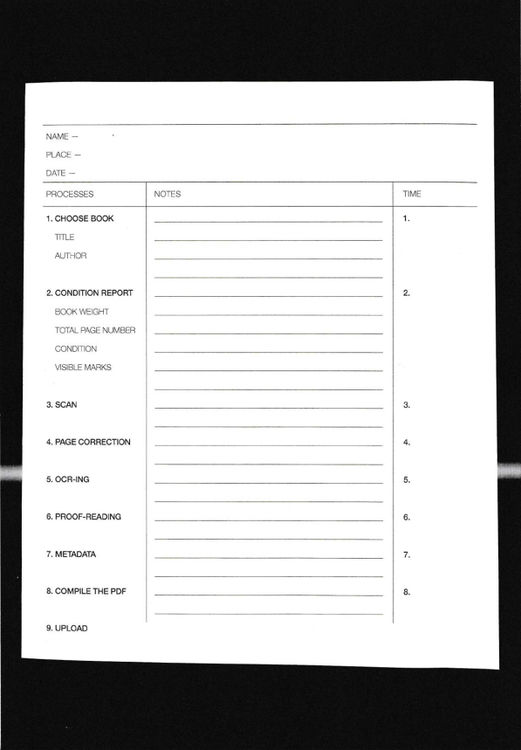
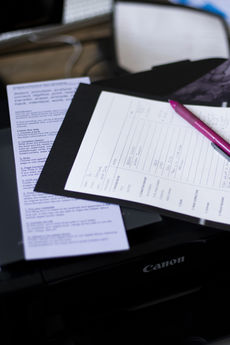
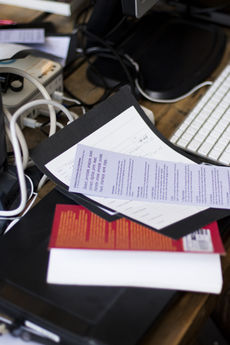
2. A form to be filled in during each step (image 02), with the requested information, such as notes and the starting time of each process, meant to document the duration of each task.
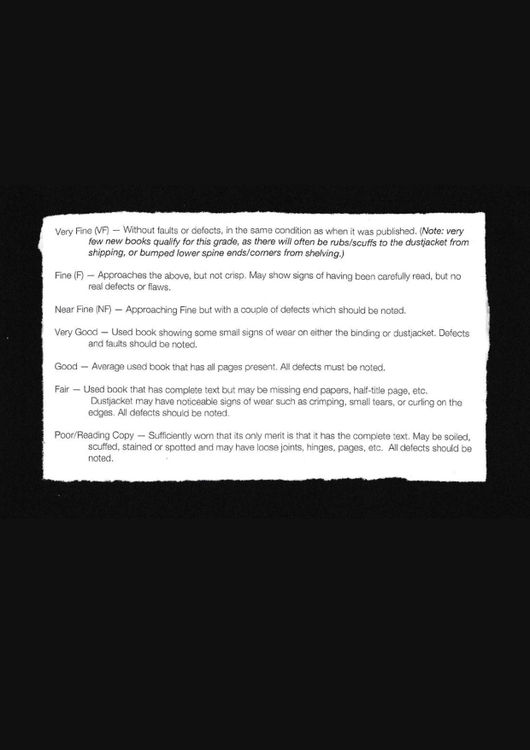
3. A chart (image 03) used by eBay to rate used books, this will work as a common ground while evaluating the physical condition of their chosen book.
After the explanation, the workshop starts and participants are encouraged to individually go through all the tasks in the available time.
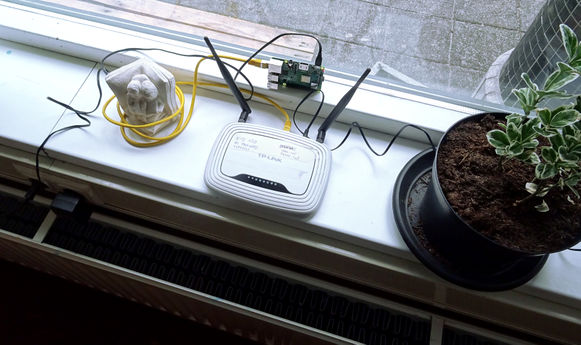
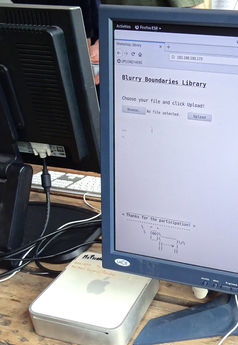
In the last step, all the outcomes are collected in a common space. We have created a self-hosted website shared in LAN, allowing participants to upload their work.
At the end of the workshop, we gather again to reflect and share individual experiences.
STEP 1: Choose a book
Choose a book from the Leeszaal collection and write down its basic information. (The book size should fit the available scanner.)
STEP 2: Condition Report
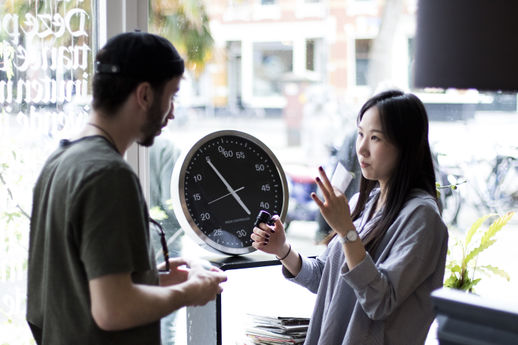
The second step consists of a condition report, analyzing the physical condition of the book. There is a scale to check the weight of the book. In the end, it can be compared with the size of the final digital file.
Write down the physical book characteristics, the condition of the book and the visible traces that may be found on it. On the purple sheet in this section, there is a list of particular marks that you could find on your book. Such as: watermark, marginalia, underline, highlight, strikethrough, circle, line, doodle, added contents, damages, folded corners, water wrinkling, stain, squiggle, and more...
Why? It is important to acknowledge what was the physical condition of the book before it turns into a digital file. Keeping the memory of the physical book (its condition / where it was placed / where it cames from / ...) is a way to reveal what otherwise is lost in the digital translation of a physical library.
STEP 3: Scan
In this third step will start the digitalization of the book. Choose one page or one chapter, depending on the available time and scan it.
This process will transform your pages into .jpg images to be saved in the workshop_folder on your desktop.
To run the scanner click on the 'scan.sh' icon in the folder.
STEP 4: Page Correction
Use Pinta or Gimp to correct your images. Turn them in their original orientation, crop them, resize them or delete unwanted marks that might come with the recently digitized file.
Why? This will help to improve the ability to perform our next step and maintain a good level of readability. It is important to understand how all the processes are connected, even considering how small they might look.
STEP 5: OCR-ing
This step consists in translating an image into text. This process can be done manually but actually, there are different softwares that are called OCR (optical character recognition) to perform this task programmatically. For this workshop, we will use Tesseract which recognizes the characters in the image and creates a searchable pdf.
To run it use 'ocr.sh’ which automatically will use the corrected images created before.
Why? A digital library is built with different formats and approaches. Different types of outputs may live together, as pdfs, epubs, etc.
STEP 6: Proof-reading
Open the searchable pdf with the browser and LibreOffice, delete the image and compare the text from the OCR output and its original source. How is the text different from each other? Save the text from the OCR output in pdf.
Why? Unfortunately, the OCR process is not perfect and usually needs to be corrected. To see what is the actual text of the OCR output, you can open your pdf file with LibreOffice writer, delete the image and see what is the text hidden behind it. Then you can compare it with the original pdf and save this text in a new pdf inside your folder. We don't aim to complete this step, we want to raise awareness that this is done in the background and it is a very time-consuming process.
STEP 7: Append your metadata
The filled form is meant to be scanned and appended to the final pdf.
In this way, we will make visible the labor behind our digital file.
At this point, we will use the concept of metadata, a set of data that describes and gives information about other data. In fact, the form will act as a dataset containing the tasks that you had to go through during this one house span. After scanning it save it as a pdf into your folder.
Why? Digital libraries and shadow libraries in general
STEP 8: Compile the pdf
At this point, you’ll have three pdfs in your folder.
To complete your digital book, merge all the pdfs in one file with ‘merge_files.sh’.
After that you can run the 'merge_files.sh' in your folder, it will produce the final pdf that you have to rename. It will contain:
1. the pdf produced by the OCR
2. the pdf with the text of the OCR output
3. the pdf of the hidden labour's form
STEP 9: Upload to the digital library
Finally, upload your digital book on our digital library following the bookmark on the browser.
Congratulations! You have done a great (hidden) job!!
The last step will be to print your work and to upload it in our server which you will find on the bookmarks of the browser.
Why? We are now able to take the individual work and frame it into a group collection. Also reflecting on how to create a structure organizing them and on how are they going to be made public.
FORMS
DEPENDENCIES
Install Dependencies
- Mac
- brew install tesseract-ocr pdfsandwich rename make pdftk
- Linux
- sudo apt-get install tesseract-ocr pdfsandwich rename make
Installing the scanner
- Windows
- Use USB to connect the scanner ->
- Click send on the scanner->
- The images will be saved on your 'Scan' folder
- Linux
- Install Simple Scan
- https://launchpad.net/simple-scan
- sudo apt-get install simple-scan
- MAC
- Use USB to connect the scanner ->
- System Preferences ->
- Printers and Scanners ->
- Click "+" to add a new scanner ->
- Canon LiDE 120 should appear
Download Git repository
https://git.xpub.nl/pedrosaclout/Workshop_Folder
PROTOTYPING
Makefile
src=$(shell ls *.jpeg)
pdf=$(src:%.jpeg=%.pdf)


pdf: $(pdf)

zapspaces:
	rename "s/ /_/" *
	rename "s/\.jpg/.jpeg/" *

# Scan.pdf: Scan.jpeg
# 	tesseract Scan.jpeg Scan -l eng pdf

%.pdf: %.jpeg
	tesseract $*.jpeg $* -l eng pdf

# %.ppm: %.jpeg
# 	convert $*.jpeg $*.ppm
#
# %.un.jpeg: %.un.ppm
# 	convert $*.un.ppm $*.un.jpeg
#
# %.un.jpeg: %.jpeg
# 	convert $*.jpeg tmp.ppm
# 	unpaper tmp.ppm tmp2.ppm
# 	convert tmp2.ppm $*.un.jpeg
# 	rm tmp.ppm
# 	rm tmp2.ppm
#
# #debug vars
# print-%:
# 	@echo '$*=$($*)'
OCR all jpegs
#!/bin/bash

cd "$(dirname "$0")"
make zapspaces
make
Merge all the pdfs together
#!/bin/bash

cd "$(dirname "$0")"
pdftk *.pdf cat output newfile.pdf

