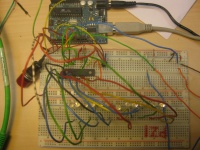
User:Laurier Rochon/prototyping/clapping music led chip driver
BENT COLORS GALORE!
(recordable patterns)
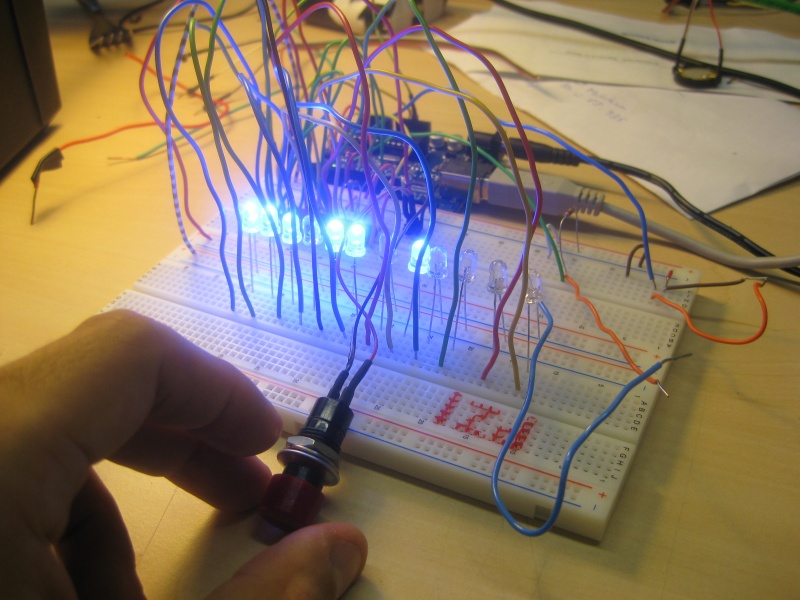
Hm. So I'm not a great fan of music to prototype stuff (my colleagues either, I'm sure), so I transformed this audio pattern into a visual one. I was tinkering with an LED chip driver last week (TLC5940) which is a great little piece of hardware that uses up only 4 Arduino pins, and lets you connect up to 16 LEDs. The sweetest part : Arduino has a library to control the LEDs with, so moving light vectors and shooting lasers around is a piece of (chocolate) cake.
Functionality - it is very crude and not supra-user-friendly, but here's how it goes : there are 2 modes, record and playback. By default you start in record mode, to 'make' your pattern. There are 2 buttons that I made out of wires (had only 1 pushbutton) which allow you to scroll horizontally through the strip of LEDs, and to turn each one on or off. As you do this, it gets recorded instantly in the list, and you can play back your pattern anytime by pushing the big red button, entering 'playback' mode again. In this respect, there is no need to 'save' as you go, the program does it automatically.
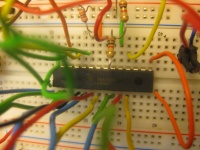
As you play back the pattern, it will loop indefinitely until you start recording something over. I won't put a circuit diagram on here, but I have some hi-res photos.
Some stuff I used :
Problems :
- I tried plugging in the TONE function to play the patterns in audio just for fun, and for some reason it jams up the LED strip and won't send the signal to them. It looks like there is a conflict with the TLC5940 chip somewhere, as I have tried many different configurations, but to not much avail.
- When in record mode, the on/off variable always stays whatever it was at last - meaning that if you turn off an LED, and go to the next one, you're not sure where you're at in the pattern. This should be easy to fix though.
- Gotta get some pushbuttons, those wires are stoooopid.
- I wonder how much current this thing is pulling?
VIDEO
{{#ev:vimeo|16365778|640}}
PICS
HARD
- 3 buttons
- 16 LEDs
- 2x 10K resistors
- 1x 2K resistor
- TLC5940 LED chip driver
- lotsa more wires
SOFT
//includes
#include "Tlc5940.h"

//globals
int nb = 12;

int pat[] = {1,1,1,0,1,1,0,1,0,1,1,0};

const int buttonPin = 8;
int buttonState = 0;
float recordpin=0;

int currentpin = 0;
int diff=1;

int binary=1;
float onoff=0.5;

int realvalue;

void setup(){
  //initialize
  Tlc.init();
  Serial.begin(9600);
  pinMode(buttonPin, INPUT);
  pinMode(7, INPUT);
  pinMode(6, INPUT);
}

void loop(){
  //read the states of the buttons
  buttonState = digitalRead(buttonPin);
  int switcher = digitalRead(6);
  int light = digitalRead(7);

  //PLAYBACK MODE
  //this is very similar to the code we did together with Michael
  if (buttonState == HIGH) {
    for(int i=0;i<nb;i++){
        if (pat[i] == 1){
          Tlc.set(i, 4095);
          Tlc.update();
          delay(200);
        }
        if(i==(nb-1)){
          Tlc.clear();
        }
    }
   }else{
     //RECORD MODE

     //this part check the horizontal moving (button1)
     if(switcher != diff){
       delay(200);
       if(recordpin<nb-1){
         //yes, I am one lazzzzzy ass coder
         recordpin+=0.5;
         diff = switcher;
       }else{
         recordpin = 0;
       }
       currentpin = recordpin;
     }

     //and this one the on/off for individual LEDs
     if(light != binary){
       delay(100);
       onoff+=0.5;
       binary = light;
     }
      int intonoff = onoff;
      if(intonoff%2==0){
        realvalue = 0;
      }else{
        realvalue = 1;
      }

      //assign the actual sign
      pat[currentpin] = realvalue;

      Tlc.clear();

      //and display according to the value chosen
      if(realvalue == 1){
        Tlc.set(currentpin, 4095);
      }else{
        Tlc.set(currentpin, 0);
      }
      Tlc.update();
    }
}

