A case for chopchop
chopchop is a Raspberry Pi server used by xpub students. In order to (1) protect this fragile yet important object, and to (2) provide a stylized look, it was decided that chopchop needed a case.
This page is a documentation of the process of creating chopchop's case, and is based on a pad. For the purpose of this page, a step by step guide is given that is tailored towards chopchop. It can be considered a case study: this protocol can be generalized for other Raspberry Pi cases, and parts of it may be used in isolation.
The process described on this page consists of several subprotocols. They are as follows:
- Acquire ASCII art
- Convert ASCII art via SVG to STL
- Acquire template STL model
- Combine template STL model with ASCII STL
- Get everything ready to print
These subprotocols are presented step by step in the remainder of this page.
Description of the Process
In this process our aim is to make a case for our server chopchop.
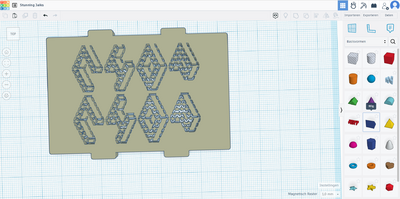
We intend to etch e.g. the above text into the case. Is the P too small? If we modify it, it's no longer at the base plane like the other characters are.
Possible ways to etch the design into the case & possible case designs
- Create a 4mm layer but divide it into two layers of 2mm each.
General Concept
Installation / display
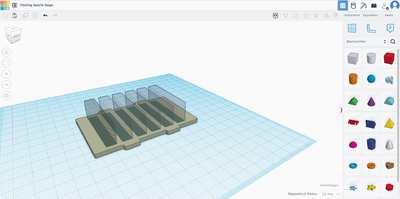
- Chopsitcks, restaurant, hand and plate - making two gaps to insert chopsticks in. The chopsticks as flags? - Do we want the chopsticks? - could the hand hold the server with the chopsticks? possible with Epoxy? - Do we need a right hand?
Design of the case
- Painting it? Associations with food; servers, serving and service - Sandwich shaped case, works with the plate - House shaped case - chopcjhop cut-out style providing airflow might be practical - One or two-pieces to start with. E.g. a house design with chopchop etched into the roof - Windows could provide airflow?
$ sudo apt-get install krita
so in general there are seemingly two entries to the concept of chopchop. On one hand it is the association to chop sticks, and a server that serves – which creates associations to food or a restaurant. The other being chopchop as a saying for speeding up and a sense of urgency.
Creation process step by step
Acquiring ASCII art
- Open a terminal
- Enter the following command to download a spectacular font into your default font directory:
wget http://www.figlet.org/fonts/isometric1.flf /home/USERNAME/.fonts:/usr/share/fonts/isometric1.flf && figlet -f isometric1 "chopchop" -w 60
- Save the output (see below).
     /\  \         /\__\         /\  \         /\  \
    /::\  \       /:/  /        /::\  \       /::\  \
   /:/\:\  \     /:/__/        /:/\:\  \     /:/\:\  \
  /:/  \:\  \   /::\  \ ___   /:/  \:\  \   /::\~\:\  \
 /:/__/ \:\__\ /:/\:\  /\__\ /:/__/ \:\__\ /:/\:\ \:\__\
 \:\  \  \/__/ \/__\:\/:/  / \:\  \ /:/  / \/__\:\/:/  /
  \:\  \            \::/  /   \:\  /:/  /       \::/  /
   \:\  \           /:/  /     \:\/:/  /         \/__/
    \:\__\         /:/  /       \::/  /
     \/__/         \/__/         \/__/
      ___           ___           ___           ___
     /\  \         /\__\         /\  \         /\  \
    /::\  \       /:/  /        /::\  \       /::\  \
   /:/\:\  \     /:/__/        /:/\:\  \     /:/\:\  \
  /:/  \:\  \   /::\  \ ___   /:/  \:\  \   /::\~\:\  \
 /:/__/ \:\__\ /:/\:\  /\__\ /:/__/ \:\__\ /:/\:\ \:\__\
 \:\  \  \/__/ \/__\:\/:/  / \:\  \ /:/  / \/__\:\/:/  /
  \:\  \            \::/  /   \:\  /:/  /       \::/  /
   \:\  \           /:/  /     \:\/:/  /         \/__/
    \:\__\         /:/  /       \::/  /
     \/__/         \/__/         \/__/
Convert ASCII art via SVG to STL
- Copy the ASCII art from your saved location.
- Make outlines from ASCII art in image manipulation software that allows for vector manipulation, like Adobe Illustrator.
- Make adjustments to the ASCII art to improve the quality of the 3D print (i.e. make the ASCII graphic bolder)
- Convert from SVG to STL using https://svg2stl.com/
Acquire template STL model
- Examine your Raspberry Pi for its version number.
- Browse online for suitable template models, e.g. on Thingiverse. Alternatively, if you intend to create your own model from scratch, this is the time to do so.
- Download the STL files for the model of your choosing, e.g. this one for an older model.
Combine template STL model with ASCII STL
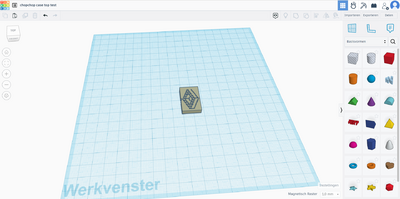
- Open CAD software, like Tinkercad.
- Import the template STL and the ASCII STL
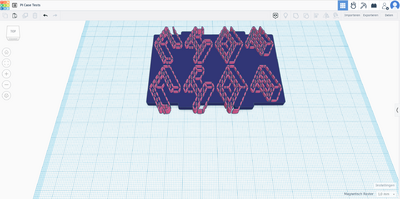
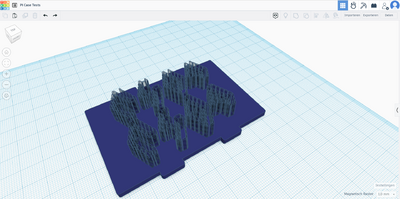
- Make ASCII STL into a negative 'hole' shape, a 'cookie-cutter' and scale and position it.
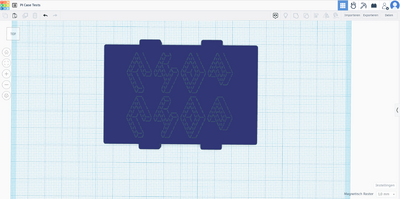
- Combine the negative STL file with the template Raspberry Pi case STL
- Optional: make any final changes to the STL files, like making 'air vents' in the bottom panel using similar techniques.
Get everything ready to print
Test print
The following subprotocol is an optional step. Although this step is advised, one can also skip to step 18.
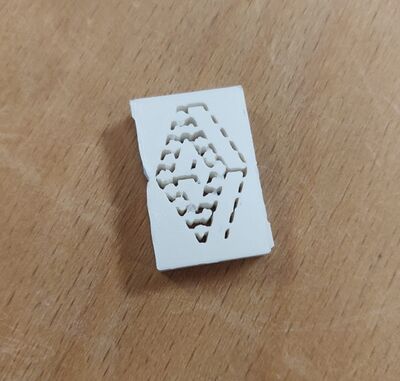
- a. Make a new 'cookie cutter' to remove most of the shape, e.g. leaving one letter to be printed.
- b. Apply the coookie cutter to remove all access material.
- c. Save the STL file.
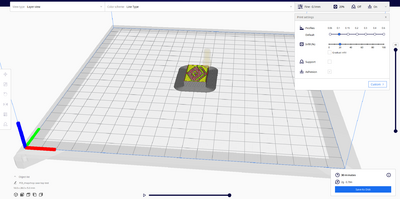
- d. Open the STL file in a slicing engine, e.g. Ultimaker Cura.
- e. Slice the model and save it to a USB drive or SD card.
- f. Print the model
Full print
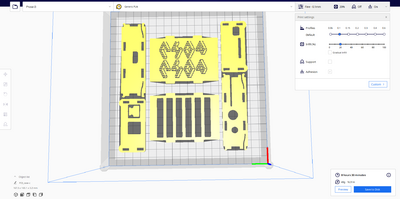
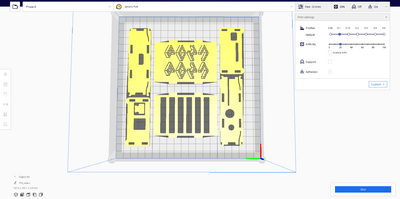
- Open all STL files you want to print in a slicing engine, e.g. Ultimaker Cura.
- Make final adjustments, e.g. by scaling some models. In chopchop's case, the top panel is mirrored so that ultimately, the outward facing side is the smoother side that faced the printbed during printing. This is an option due to the symmetric nature of this particular model.
- Slice the model and save it to a USB drive or SD card.
- Print the model

