User:Clàudia/personal-research-publi-itch
Idea
Publi-itch are a serie of publications that explore the concept of glitch in multiple ways. For the time being, the final shape will be a website, but it might vary as the project evolves. These publications will be a way to improve some skills (such as research, writing, css, html, visual and conceptual design, etc), learn python and possibly improve my understanding of other languages and environments (such as javascript, php, dbs, etc). On the other hand, this project is also going to be approached in a self-explorative and subjective way, with the aim of discovering more about myself.
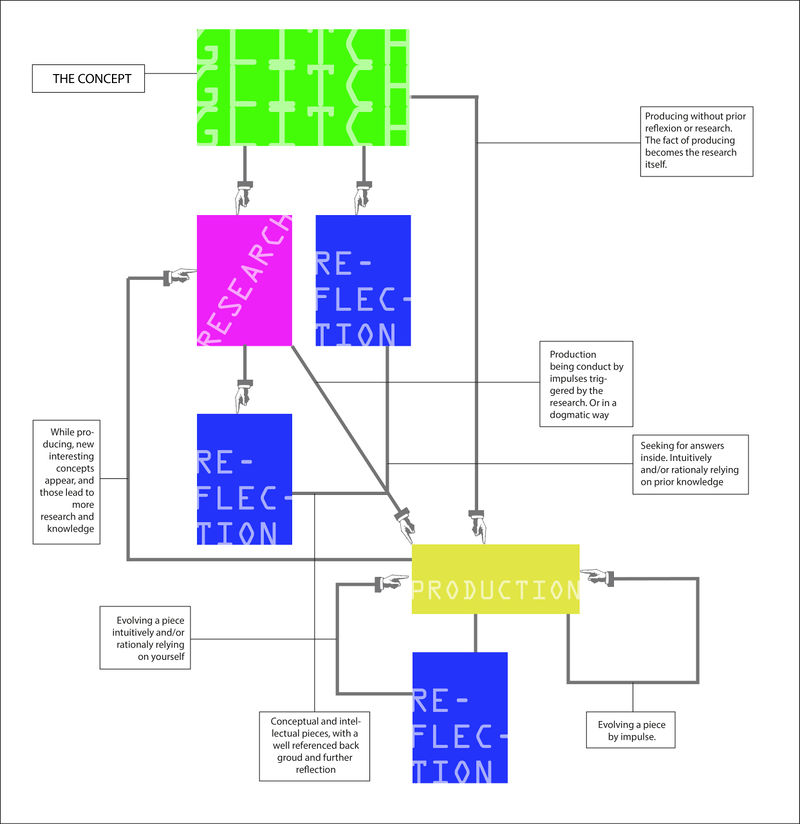
The publications will be produced using different methodologies, in order to explore different paths, and to experiment in the way how I engage with those. I have made a flow diagram, with the aim of gaining a better understanding on how a piece can be created, using research, reflection and production .
This diagram has been made following the next path: CONCEPT --> REFLECTION --> PRODUCTION --> REFLECTION --> PRODUCTION (...and so on and so forth)
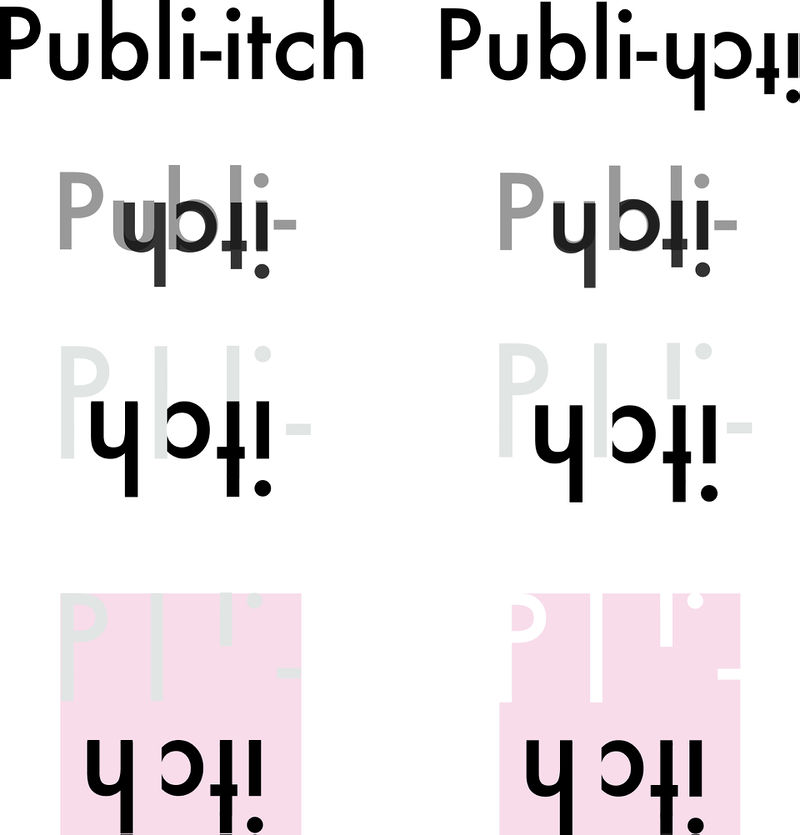
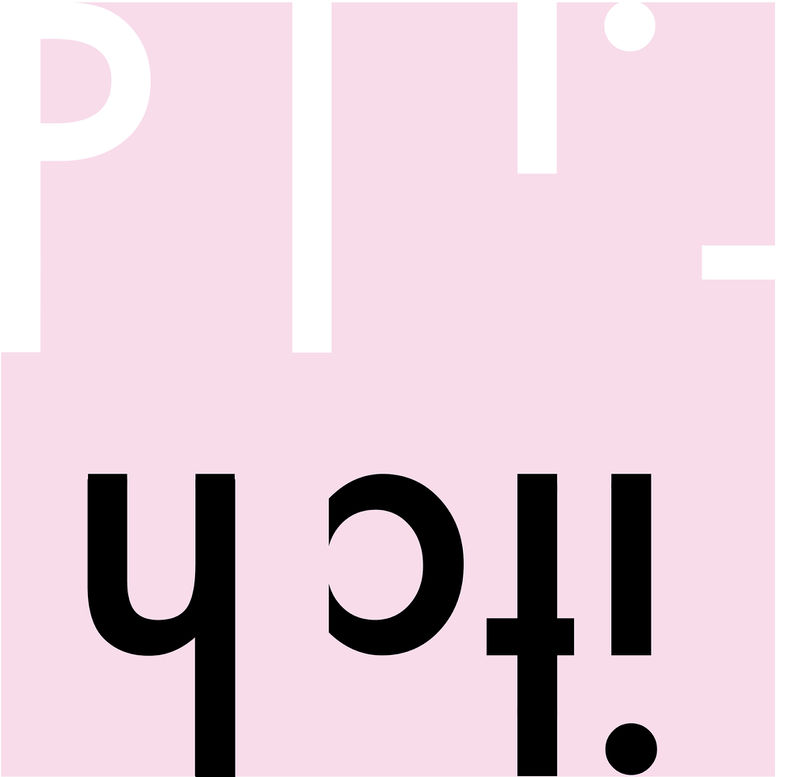
Publi-itch identity
PS: The color is not 100% defined yet
2nd -itch
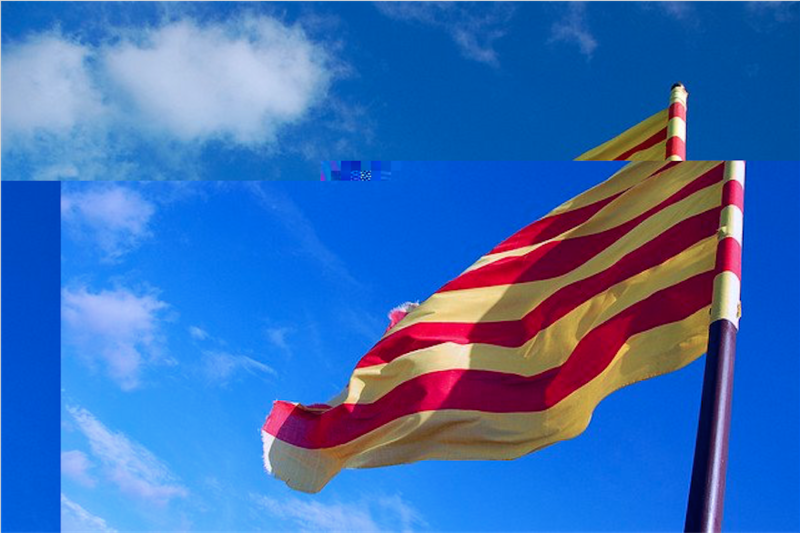
This work consist of a software that gitches an image introducing a message in it's code. The message can also be deciphered, using the same program. The language used to build this piece of softwre is Python.
code
- When the ghlitched image file is saved in .bmp, the glitch is more interesting and varies more than when saved with .jpg
- When using the program, the image file you want to glitch, has to be placed in a folder called "images-to-glitch", at the same level of the program file.
- When you want to decode an image, it has to be placed in a folder called "glitched-images", at the same level of the program file.
import random
#library I use to open the file (only if you want to oppen it in mac?)
import os

#messatge to introduce/find
missatge_primer= "principi del missatge"

#messatge to introduce/find
missatge_final= "final del missatge"

while True:
    user_desition = raw_input("Do you want to GLITCH or to UNCODE? ")


    if user_desition == "GLITCH":
        #variable string
        p = raw_input("Please, enter the name of the image file you want to glitch: ")

        image_file = "images-to-glitch/" + p

        #variable = open that file
        f = open(image_file)

        # variable = reads a file
        d = f.read()

        #generates a random number
        random_number = random.randrange(0, len(d))

        #this function enters the message inside the image
        def the_message(message, randomnumb):
            d2 = d[:randomnumb] + missatge_primer + message + missatge_final + d[randomnumb:]
            return d2


        #user introduces the name of the new file
        new_file_name = raw_input("New image name and extension: ")

        #WHY is it different when you do it from insite the program (python -i hello.py) or PRINT result?
        #print d

        glitched_file = "glitched-images/" + new_file_name

        #variable that opensa file, on mode Write
        f2 = open(glitched_file, "w")


        #asks user to introduce the message
        message_user= raw_input("Please, enter the message you want to be coded: ")


        #function that introduces a message inside the document
        d2 = the_message(message_user, random_number)

        #introduei el missatge en el document
        f2.write(d2)

        #opens the file you just gliched
        os.system("open " + glitched_file)

        f2.close()

        f.close()


        #############  UP TO HERE THE MESSAGE IS INTRODUCED AND THE IMAGE HAS BEEN GLITCHED
        ############# NOW IT WILL START DECODING THE MESSAGE


    elif user_desition == "UNCODE":
        image_decode= raw_input("Please, enter the image you want to decode: ")

        #open the file that the user has introduced
        f = open("glitched-images/"+image_decode)

        #read the file
        d = f.read()

        #find the message variables in d2, this variable will be the number where the message starts in the string
        in_text_first= d.find(missatge_primer)
        in_text_last= d.find(missatge_final)

        #this is the decoded message
        message_decoded = d[in_text_first+21:in_text_last]

        #it prints the message
        print "THE DECODED MESSAGE IS: " + message_decoded


        f.close()


    else:
        print "bugger off xP"
Examples
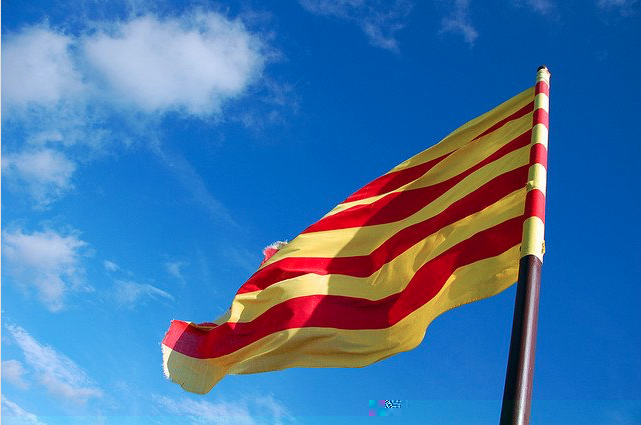
Original image
Glitched images
ALL OF THEM HAVE A HIDEN MESSAGE! You can decode them using the program =D! (Wiki does not allow the uploading of .bmp images. This is why, if you want to decode the image, click on "downloadable link of the .bmp image")
downloadable link of the .bmp image
downloadable link of the .bmp image
downloadable link of the .bmp image
downloadable link of the .bmp image
downloadable link of the .bmp image
downloadable link of the .bmp image
downloadable link of the .bmp image
downloadable link of the .bmp image
downloadable link of the .bmp image
1st -itch
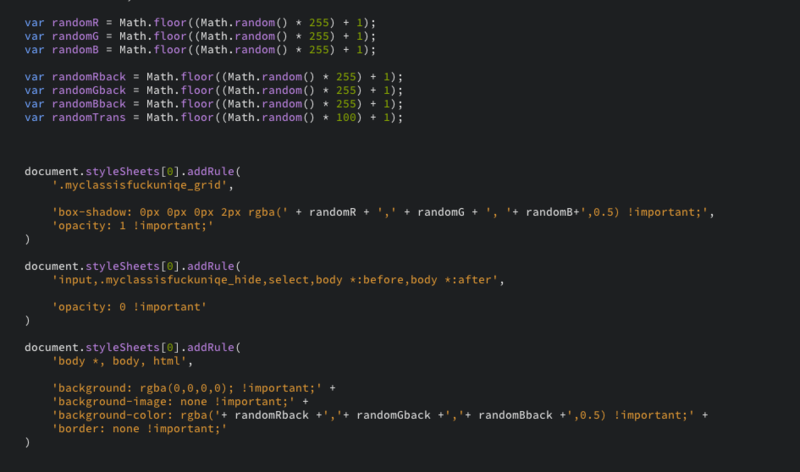
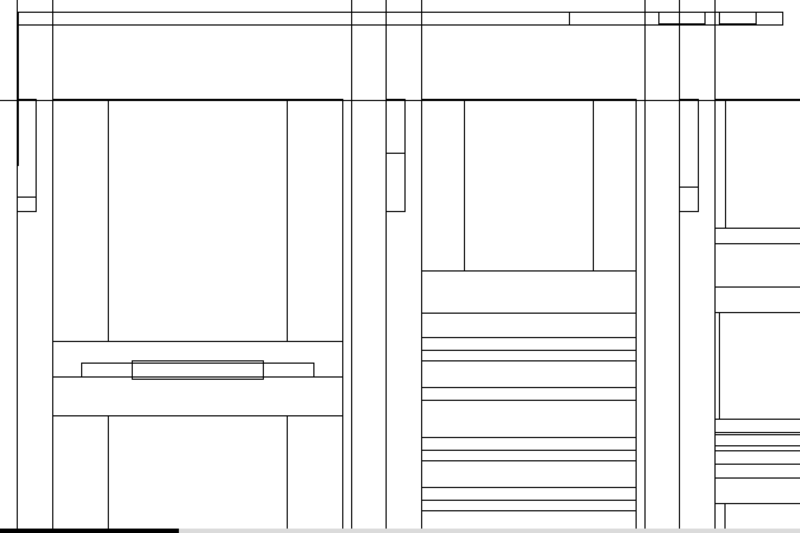
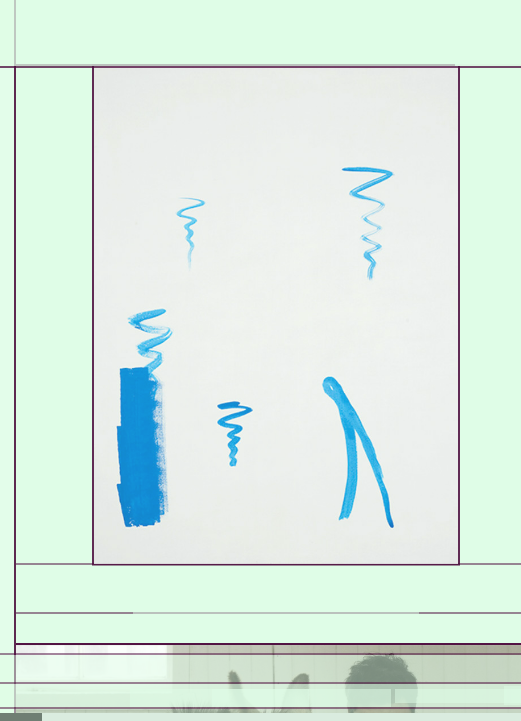
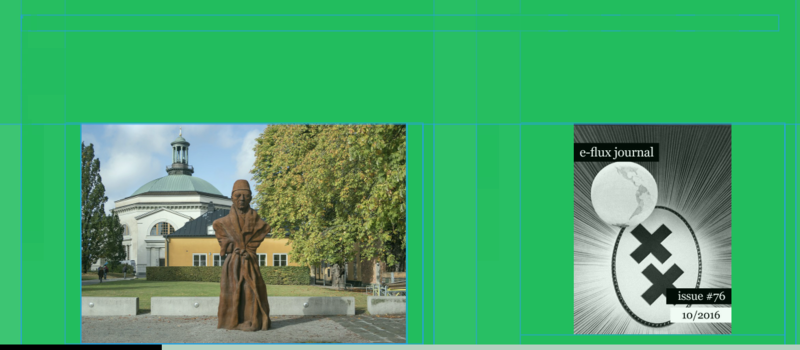
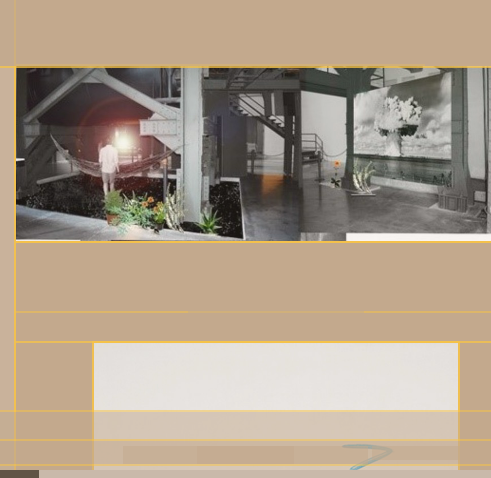
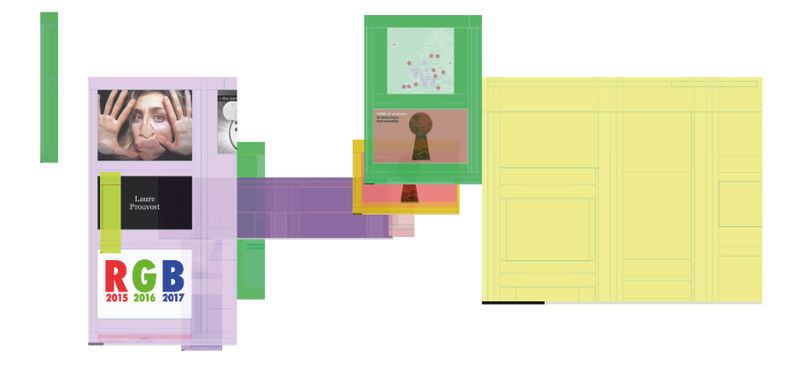
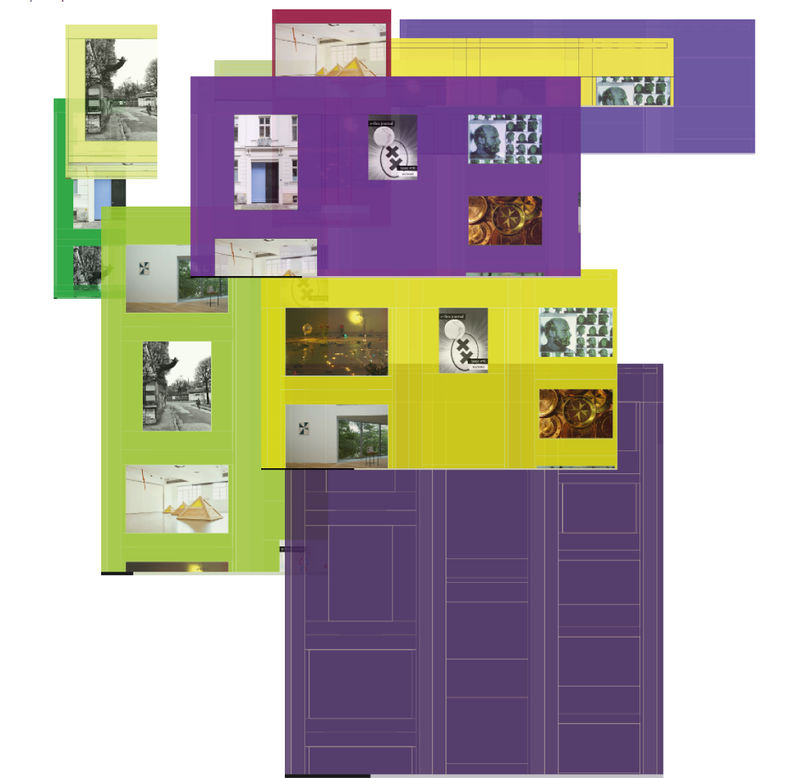
This work consists on glitching the Webgrider script, by Amir Houieh . It's functionality is to picture the layout of a webpage. The input is a website, and the output, an image of the website layout. It was decided to glitch the program functionally: by changing the look and aesthetics of the output. In doing so, the resulting image is not functional anymore, and the program not practical. At the same time, this project is inspired in the sentence: "What if instead of adding one redistributes what is there already?" by Paul Glosan. Taking as a input a website, a functional piece of code by Amir Houieh, and in the printed version of the project, reused paper.
1st part
(MAKE DIAGRAMS)
-itch recipe
Conventional output of the program
Website used: E-FLUX
-itched program
2nd part
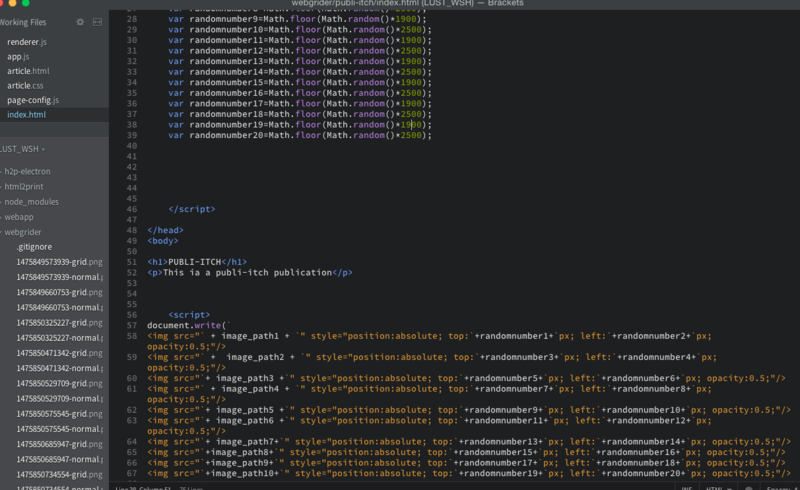
The project is brought further. Now, the images made with the first -itch, are used to create a website that will show a new composition each time it is refreshed.
(MAKE DIAGRAMS)
-itch recipe
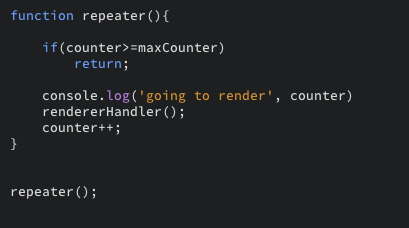
1- Create a new folder with the files of the new website. It only needs to have an index.html, and a folder to save the images.
-itched program
The printed -itch
Still being loyal to the sentence "What if instead of adding one redistributes what is there already?" by Paul Glosan, in the printed version of the project, the -itch compositions are printed on reused paper. Doing it this way, each piece is totally unique, and integrates the content of the sheets in the piece itself.

