User:Mania/Project That May or May Not Be Made template
Fences and borders
What is it?
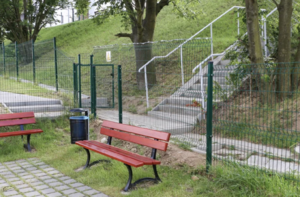
Project about fences and bordesr in poublic space.
It will be an instalations which would be a result of a field research, analysing functionality of forms encountered in public space with a focus on delineating territories and borders in urban space.
Accompanying publication with a reserach process, that has the same shape as imstalation.
Why make it?
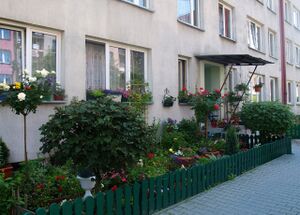
In Poland, gated communities were a promise of paradise. Some people still want to separate themselves, but there are also different expectations towards the city, the need for a more public space than a privatized one.
Workflow
First trimester, research and writing Secon trimestre prototyping, testing, ( by this time writing fonished) 3 trimester - building
Rapid prototypes
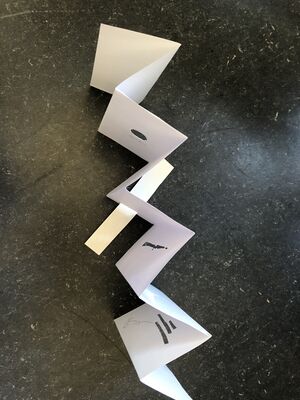
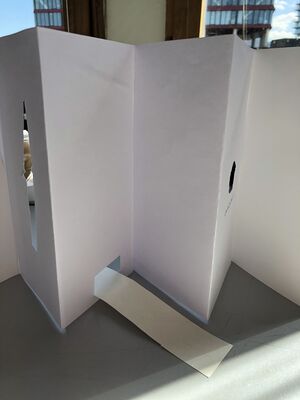
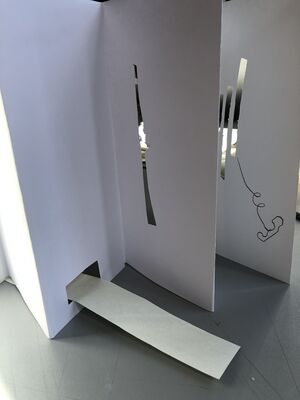
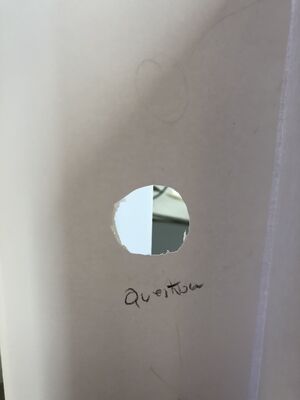
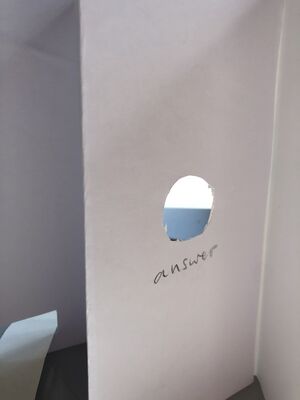
Paper prototype Interaction between people from both sides. In order to engage with the instalation you need someone from the other side. there is a swing that requires people from both sides to play, there is a "telephone receiver" so you can hear sounds that someone is sending from th eother side, answer to the question from one side is on the other side, and so on...
Previous practice
Reference to previous spetial projects,
research will include organising walks woith people and collecective drawings.
Relation to a wider context
- The context of determining areas and boundaries in urban space and housing complexes.
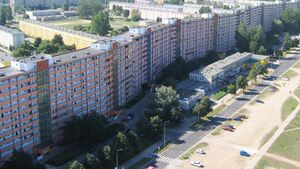
- Interest in the phenomenon of residential architecture ,for instance the wave-shaped block (Pol. falowiec) in Gdańsk
- common spaces, communication, functionality
- What role is imposed on users by such architecture?
- equal access to public space
Choices made
Interaction between people from both sides. In order to engage with the instalation you need someone from the other side.
inspirations, propositions from others:
https://sabukaru.online/articles/to-share-a-cup-of-tea-with-pierre-sernet
nolli map
psychogeography
Quick proposal - children book
What is it?
A children's book explaining how photography works… with different pieces you can build a camera obcura. And accompanying website for parents explaining how not to ruin the experience of the book for kids…
Book that includes parts that can be used to build a camera obsura, or a book itself can be unfolded and become a camera ...
Why make it?
Becasuse it looks like some children's books are designed not for children but for parents, to buy them.
Workflow
Timetable
Rapid prototypes
Previous practice
Relation to a wider context
- Explaining how things works
- Learning by doing
Choices made
Task book, to make, build things and play
A website - looks almost like a mannual, super simple steps to follow almost like how to build a ikea furniture
How to turn a room into a camera obscura?
What is it? (physical description )
- A big camera obscura instalation to which you can walk in -> transforming a room (for example acquarium on 4th floor) into a camera obscura.
- Several smaller cameras made from different objects for instance cans - Publication bringing together photographs made in the process
Why make it?
But why to do it if we are surrounded by high tech tools to take photographs?We may take things for granted, we click play and we have music playing, we click the button on our smartphones and we take a picture. But what really enables the image to be preserved? I use the everyday objects as tools for playing with wanders of physical world and therefore understanding the "magic" behind it by doing.
Explain while actively demonstrating how a camera obscura works and how objects such as a folded piece of paper, can or a box, can tap into properties of light to produce a photograph. Any kind of dark room can become a camera obscura , if you block out the ligh completely and only cut a small opening to allow light to come in.
Workflow
Organise a workshop - 'make your own camera obscura '
Experiment with DIY cameras
Work on a publication to gather the whole material
Final instalation- how to turn a room into a camera obcsura
Rapid prototypes
Light enters the box through a lens set into the opening and projects an image onto the opposite surface. The image is upside-down and backwards.
Step 1: Gather your supplies.
Step 2: Make the screen. Cut the piece of white paper to fit one side of your box; use the tape to attach it to the inside.
Step 3: Make some holes!
Step 4: Close it up, tape it shut.
Step 5: Try it out!
Previous practice
Relation to a wider context
Learning by doing
playing with wanders of physical world
Remembering and forgeting
What we choose to capture
Archival practice

