User:Thijshijsijsjss/Pen Plotting Panache
< User:Thijshijsijsjss
Revision as of 13:29, 24 December 2023 by Thijshijsijsjss (talk | contribs) (Add notes for 3d printed test rig improvements)
Thursday (14 december (2023)) there was a pen plotter heist.
Always use an alignment thingy!
Remove the carousel when using multiple pens, the inside of the carousel is dirty and messes with the pen color.
When possible, use centerline (autotrace)!
Always use new tape!
Image seperation
- Open your file in Krita
- Change color space to CMYK
- Image > Convert Image Color Space
- Choose Model: CMYK / Alpha
- Click OK
- Separate image
- Image > Separate Image
- Click OK
- Invert all layers. For each of the layers:
- Go to a layer and press ctr+I
- Save layers 'cyan', 'yellow', 'magenta' and 'black' separately. For each of the layers:
- Toggle visibility for only one of these layers
- Save (ctr+shft+S)
- Fix opacity. For each of the new images:
- Open the image with the Windows default images app
- Three dots > Change image size
- Save image (overwrite it)
Single Line Fonts
- Open Inkscape
- Use the text tool (T) to type text
- Select the text with the select object tool (S)
- Go to 'Extensions' > 'Text' > 'Hershey Text'
- All fonts marked with 1-stroke or EMS are single line fonts.
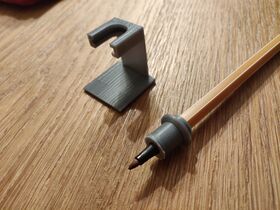
Custom Pen Holders
- Useful git repo: https://github.com/juliendorra/3D-printable-plotter-adapters-for-pens-and-refills
- Pen measurements: https://softsolder.com/2015/04/21/hp-7475a-plotter-oem-pen-body-model/
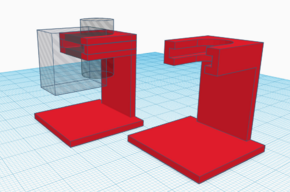
Testing Rig
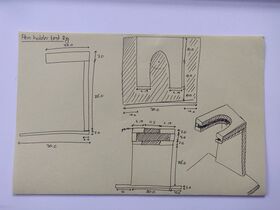
Notes for improvement:
- Slits not wide enough; add 1mm to each side (width of standing part become 22mm, diameter of circle inslide still 11.7mm).
- Rig not high enough; add 4mm (total height becomes 39mm).


