Mia/DIY Film: Difference between revisions
| (6 intermediate revisions by the same user not shown) | |||
| Line 41: | Line 41: | ||
File:Projector1.jpg | File:Projector1.jpg | ||
</gallery> | </gallery> | ||
{{vimeo|329643614}} password: projection | |||
==DAY 2 (4.4. 2019)== | ==DAY 2 (4.4. 2019)== | ||
===GAME 1: BOLEX 16mm CAMERA=== | |||
*We learned how the camera works | |||
*shutter speed (fps), lenses, aperture | |||
*how to load the film in the camera | |||
*hand winding vs. motor | |||
*stop motion animation principle | |||
*tips and tricks on what type of camera to buy | |||
===GAME 2: FILMING WITH THE BOLEX=== | |||
*we measured the light outside with the lightmeter | |||
*aperture f 1.8 | |||
*filming cca 10m of film (we used print stock) | |||
*developing, fixing, rinsing, drying film | |||
<gallery heights=400px mode="packed-hover" caption="FILMING WITH THE BOLEX camera"> | |||
File:Bolex.jpg | |||
File:Happy camera.jpg | |||
File:Mariekemia.jpg | |||
</gallery> | |||
==DAY 3 (11.4. 2019)== | ==DAY 3 (11.4. 2019)== | ||
We made positive film from the pieces we shot on day 2. For printing we used the editing table, adjusted and upgraded to work as a printer. Then we developed, dried and scanned the negative film strips and projected the results ... | |||
Latest revision as of 18:19, 7 May 2019
The fourth thematic project is led by Esther Urlus and takes place in Filmwerkplaats in Rotterdam. Filmwerkplaats is a lab for DIY photochemical (analog) film making.
DAY 1 (3.4. 2019)
Get to know the basics:
- 16 mm film
- print stock vs. camera negative film
- colour vs. B&W
- 24fps
- information of the sound (also on the film)
GAME 1: the CHEMICALS
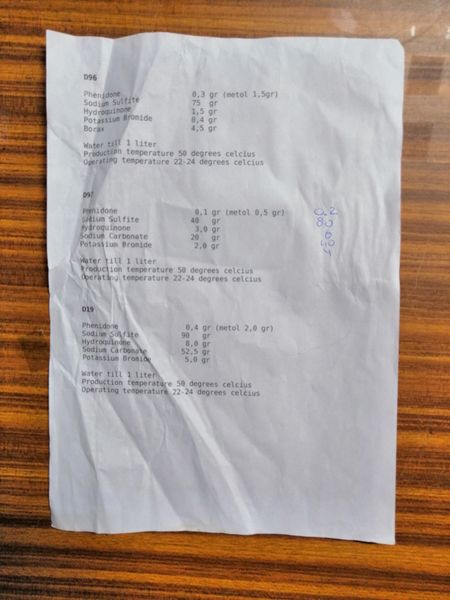
1. DEVELOPER (we used D97) 2. FIXER
We were given a piece of EXPOSED print stock film (yellowish) and painted on it with developer, fixer or both. Where fixer was applied, the exposed film became clear. Where developer was applied, parts became black (dark). After fixing and rinsing we made short loops and watched them on editing table.
GAME 2: ORGANIC developer
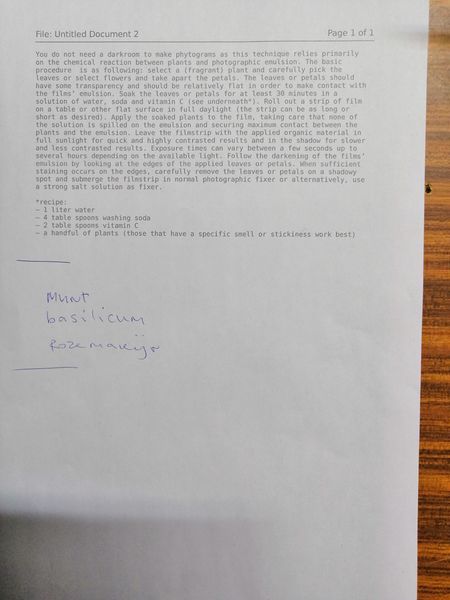
Some plants (especially ones with stronger perfume such as basil, mint, coriander, rosemary etc.) contain quite high percentage of phenol, the compound of developer. Therefore we made our own developer from plants, which is environmentally friendlier.
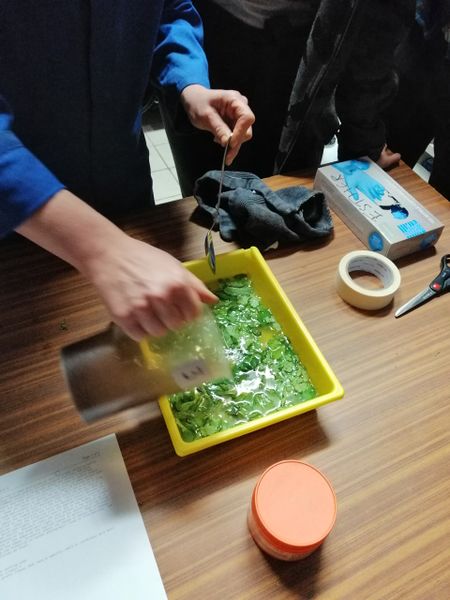
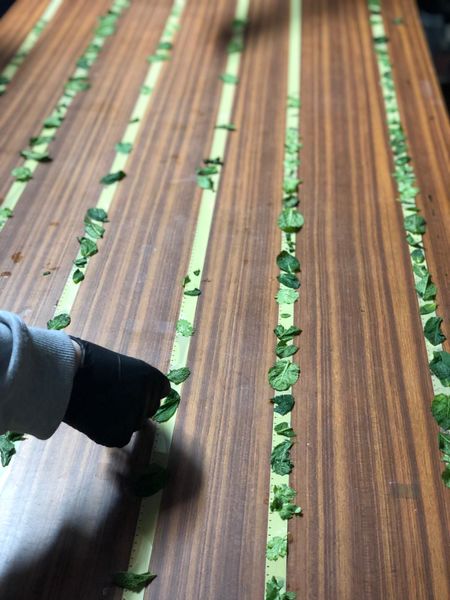
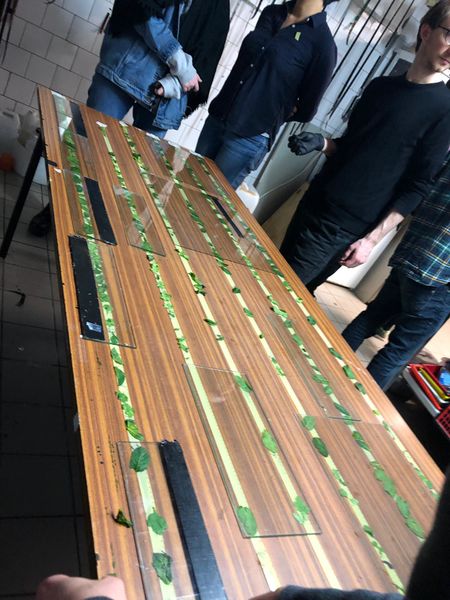
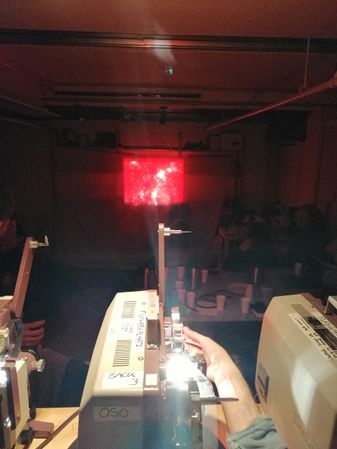
We soaked cilantro and mint leaves in a solution of water, vitamin C and washing soda for half an hour. The final solution we used as the developer, but we also used the leaves themselves. By placing them on emulsion side of exposed film and pressing them for 30 min with glass plates, parts where the leaves were got developed. We got some kind of contact print which we then had to fix and rinse. Again we stitched the films in loops and projected them. In the process we familiarised ourselves with how the projector works, how to load the film in it and experimented with colour filters.
- DIY CHEMICALS
- Photos of leaves: Katia Papanikola
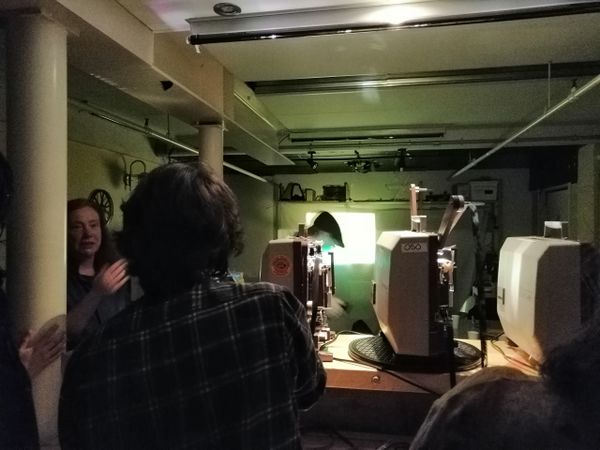
GAME 3: PROJECTORS
- With films we developed, we made small loops (using the editing table to cut, stitch and preview them)
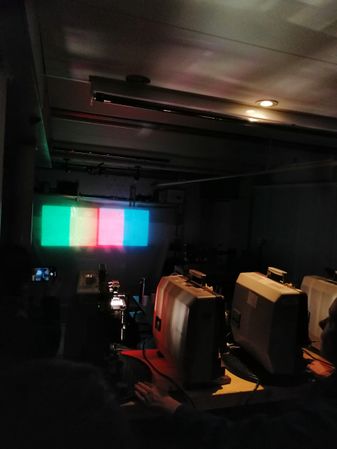
- then we projected our loops with 3 projectors
- we learned how to load the film strip in the projector, additive colour mixing, using filters, overlapping etc.
- experimenting with projectors
http://vimeo.com/329643614 password: projection
DAY 2 (4.4. 2019)
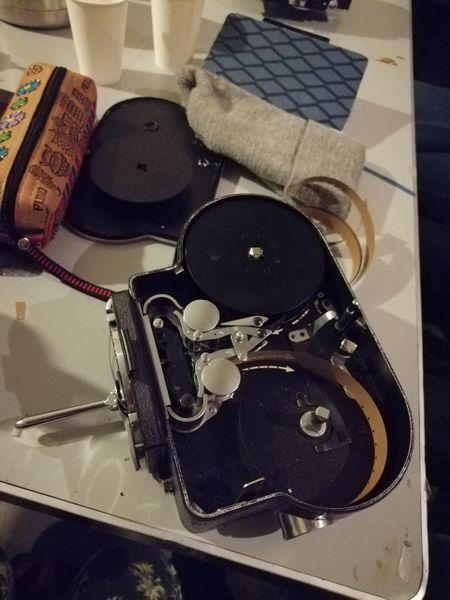
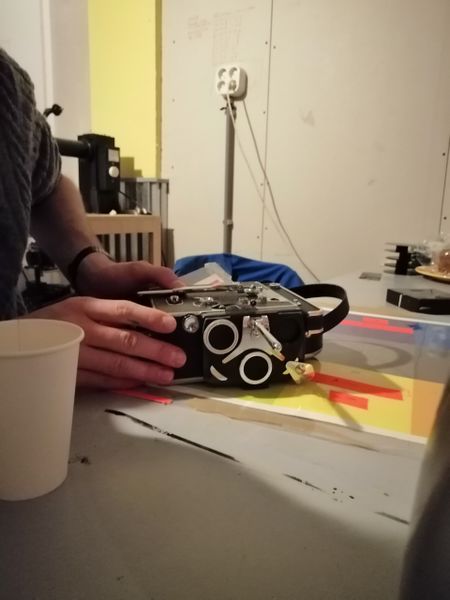
GAME 1: BOLEX 16mm CAMERA
- We learned how the camera works
- shutter speed (fps), lenses, aperture
- how to load the film in the camera
- hand winding vs. motor
- stop motion animation principle
- tips and tricks on what type of camera to buy
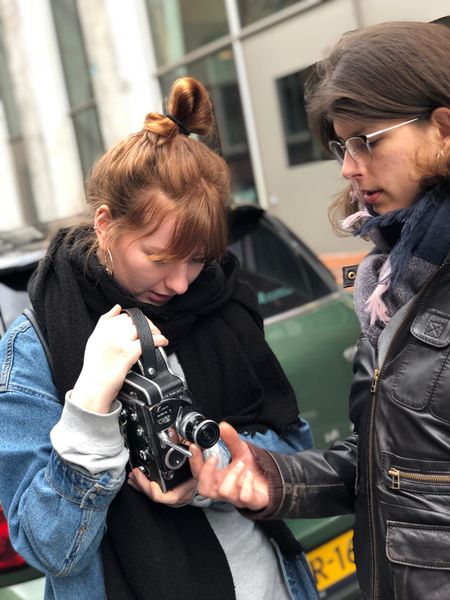
GAME 2: FILMING WITH THE BOLEX
- we measured the light outside with the lightmeter
- aperture f 1.8
- filming cca 10m of film (we used print stock)
- developing, fixing, rinsing, drying film
- FILMING WITH THE BOLEX camera
DAY 3 (11.4. 2019)
We made positive film from the pieces we shot on day 2. For printing we used the editing table, adjusted and upgraded to work as a printer. Then we developed, dried and scanned the negative film strips and projected the results ...

