Cem/myfocalcam: Difference between revisions
No edit summary |
No edit summary |
||
| (23 intermediate revisions by the same user not shown) | |||
| Line 16: | Line 16: | ||
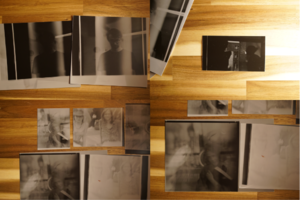
[[File:printsfocal.png | [[File:printsfocal.png|thumb|left|some of the prints]] | ||
. | |||
. | |||
. | |||
. | |||
'''scanned/''' MY VERY FIRST IMAGES WITH THE FOCAL CAM - '''[[cem/focal cam cont'd|CLICK HERE FOR MORE IMAGES MADE WITH THE FOCAL CAM]]''' | |||
| Line 24: | Line 51: | ||
[[File:Focalscan3.jpeg|frameless|right]] | [[File:Focalscan3.jpeg|frameless|right]] | ||
[[File:Focalscan5.jpeg|frameless|center]] | |||
[[File:Focalscan6.jpeg|frameless|right]] | |||
[[File:Focalscan10.jpeg|frameless|left]] | |||
[[File:Focalscan12.jpeg|frameless|right]] | |||
[[File:Focalscan11.jpeg|frameless|left]] | |||
[[File:Focalscan1.jpeg|frameless|center]] | |||
[[File:Focalscan2.jpeg|frameless|center]] | |||
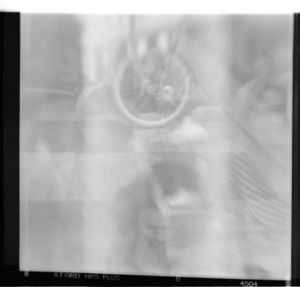
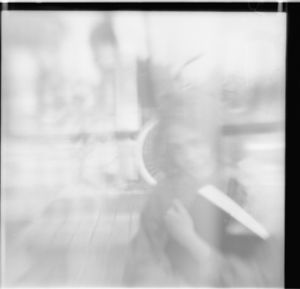
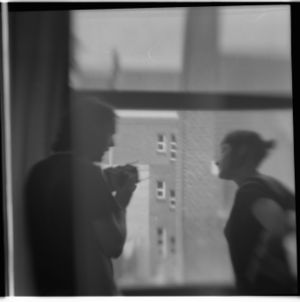
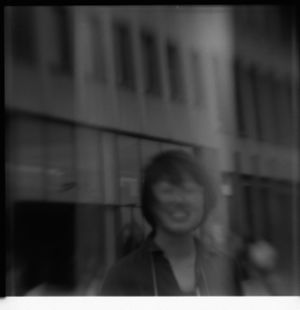
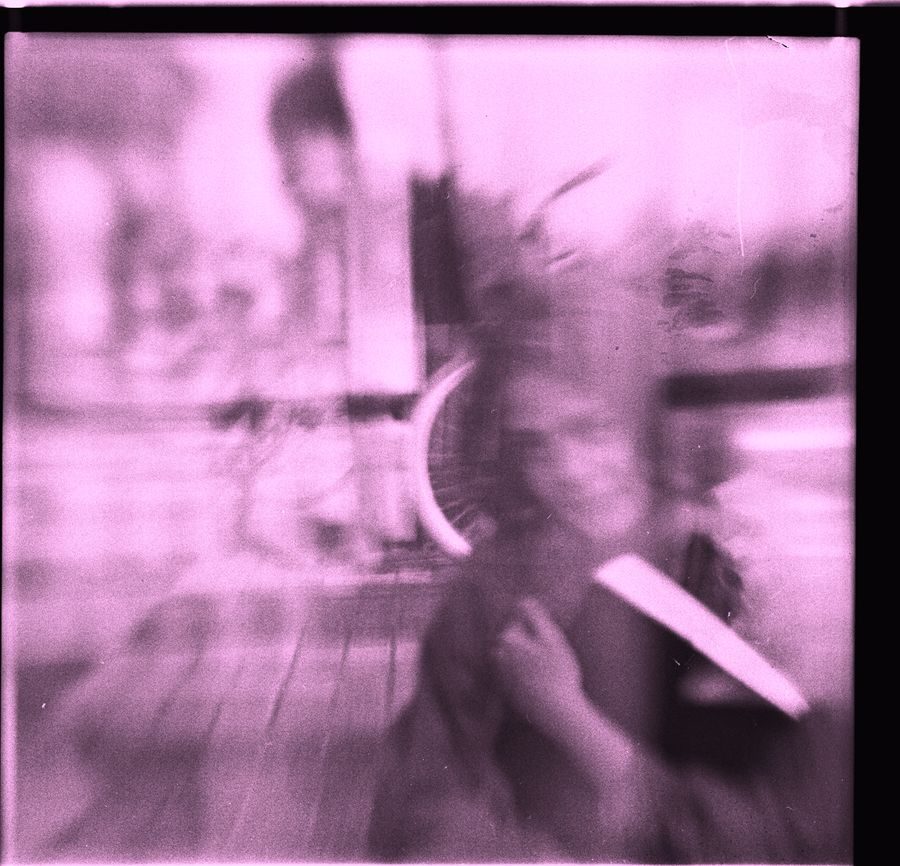
I can see that the process of inserting shiny metal plaques affected some of the images very lightly. In some images the inserted piece is seen slightly, the photograph is more exposed on that area, but it did not make a significant change, the effect is not potent enough for my goal. The images seem quite clear for a focal camera, which is really good. Only problem in terms of getting a clear image is the shutter, caused by the guillotine shutter (it is almost impossible not to tilt the camera when using the shutter) but in terms of exposure time I think I managed. Almost all the photos have lines at sides, this might be because of my inserting holes that I covered with leather, but I am not 100% sure about it, cause I think I saw them on other student's images as well. I think it has to do with the film roll. The main difference worth noting in the images is that images are more exposed on the center with definitive borders. | |||
I have some accidental double exposures I acquired because I forgot to roll the film, which turned out great actually, except the fact that they are a little overexposed as expected. | |||
[[File: | [[File:Focalscan5Ba.jpg|900px|frameless|center]] | ||
Latest revision as of 15:28, 3 December 2018
the cam
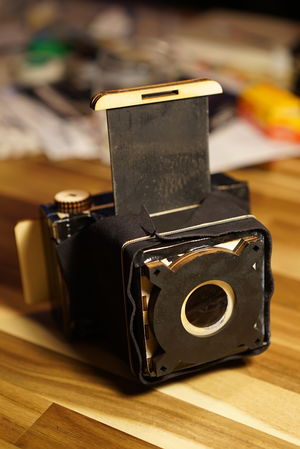
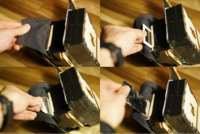
I wanted to discover the possibilities of affecting the outcome image with the help of something physical, such as a filter, a piece of shiny metal to reflect light, a piece of film negative etc. Accordingly, I’ve made a camera that has two of the guillotine shutter module. One of them to be used the proper way it should be used, as a shutter. The other one is for inserting the physical material between the shutter and lens. I coated this area with some leather pieces from Mia (cheers) to be sure that light does not leak when it is not used. It also looks a bit sexier.
the outcome
The developing of the film was really exciting. If these images came out through okay, I’d be really glad. There were so many things that could go wrong, possible light leaks that I missed, mishandling the film roll, bad usage of shutter time and so on and on. So actually I was really surprised that they turn out to be recognizable images of some sort.
I haven't yet scanned the negatives, did only prints. To understand how the insertions worked out really, I have to examine the digital outcomes asap.
.
.
. .
scanned/ MY VERY FIRST IMAGES WITH THE FOCAL CAM - CLICK HERE FOR MORE IMAGES MADE WITH THE FOCAL CAM
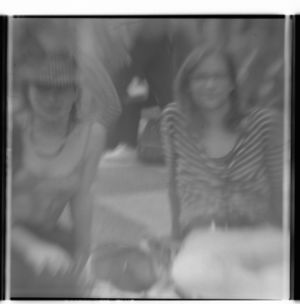
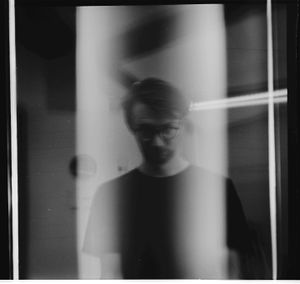
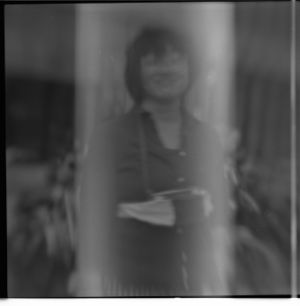
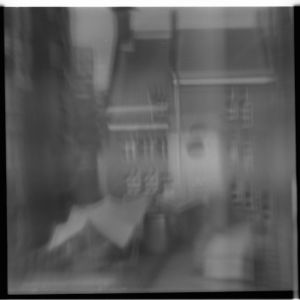
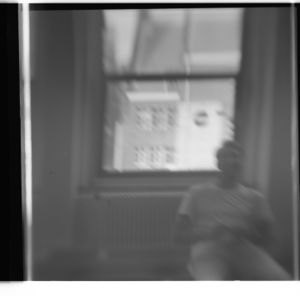
I can see that the process of inserting shiny metal plaques affected some of the images very lightly. In some images the inserted piece is seen slightly, the photograph is more exposed on that area, but it did not make a significant change, the effect is not potent enough for my goal. The images seem quite clear for a focal camera, which is really good. Only problem in terms of getting a clear image is the shutter, caused by the guillotine shutter (it is almost impossible not to tilt the camera when using the shutter) but in terms of exposure time I think I managed. Almost all the photos have lines at sides, this might be because of my inserting holes that I covered with leather, but I am not 100% sure about it, cause I think I saw them on other student's images as well. I think it has to do with the film roll. The main difference worth noting in the images is that images are more exposed on the center with definitive borders.
I have some accidental double exposures I acquired because I forgot to roll the film, which turned out great actually, except the fact that they are a little overexposed as expected.

