User:Francg/expub/specialissue2/pi-install: Difference between revisions
No edit summary |
No edit summary |
||
| (3 intermediate revisions by one other user not shown) | |||
| Line 4: | Line 4: | ||
<div style="float: left; color:black; margin: 0 15px 0 0; width: 850px; font-size:120%; line-height: 1.3em; letter-spacing: 0.8px;"> | <div style="float: left; color:black; margin: 0 15px 0 0; width: 850px; font-size:120%; line-height: 1.3em; letter-spacing: 0.8px;"> | ||
<br>After some installation issues, Max finally led us to a new uncertain, mysterious and fascinating | <br>After some installation issues, Max finally led us to a new uncertain, mysterious and fascinating world of possibilities. | ||
We plugged a projector and a keyboard to the raspberry and did our first steps into it. | We plugged a projector and a keyboard to the raspberry and did our first steps into it. | ||
Each of us built a new website from scratch by creating a new html file and visualised it in the pi's server. | Each of us built a new website from scratch by creating a new html file and visualised it in the pi's server. | ||
<br> | <br> | ||
install "nano" & apt-get install apache2 | |||
<br>"cd" into /var/www/ and "ls" to see content | <br>"cd" into /var/www/ and "ls" to see content | ||
<br>if file.html; "cd" and "nano file.html" to enter and edit | <br>if file.html; "cd" and "nano file.html" to enter and edit | ||
<br>"rm" file.html to remove or "newname.html" to create a new html file | <br>"rm" file.html to remove or "newname.html" to create a new html file | ||
<br>To see the website in the browser: copy the pi's IP address | <br>To see the website in the browser: copy the pi's IP address (type "ip address", section 3) | ||
<br>In the next coming underground sessions, we will create a chat room and send e-mails. | <br>In the next coming underground sessions, we will create a chat room and send e-mails. | ||
<br> | <br> | ||
Here some highlights of the process: | Here some highlights of the installation process: | ||
[[File:1 duckpi-iaiaia.ogv| Duckpi-iaiaia-espeak]] | [[File:1 duckpi-iaiaia.ogv| Duckpi-iaiaia-espeak]] | ||
Latest revision as of 13:22, 11 March 2017
Pi install with Max&Giulia @Poortgebouw
After some installation issues, Max finally led us to a new uncertain, mysterious and fascinating world of possibilities.
We plugged a projector and a keyboard to the raspberry and did our first steps into it.
Each of us built a new website from scratch by creating a new html file and visualised it in the pi's server.
install "nano" & apt-get install apache2
"cd" into /var/www/ and "ls" to see content
if file.html; "cd" and "nano file.html" to enter and edit
"rm" file.html to remove or "newname.html" to create a new html file
To see the website in the browser: copy the pi's IP address (type "ip address", section 3)
In the next coming underground sessions, we will create a chat room and send e-mails.
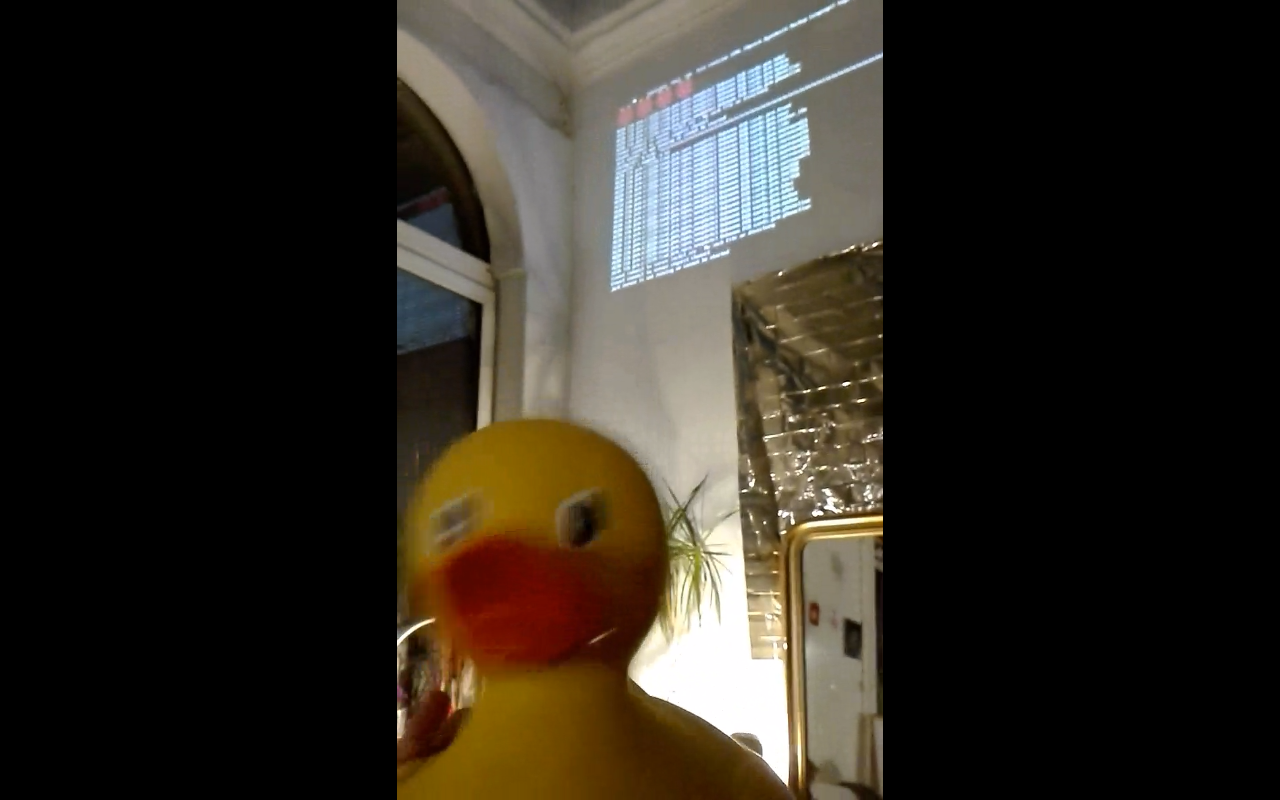
Here some highlights of the installation process:
File:1 duckpi-iaiaia.ogv
File:2 hulahoop.ogv
File:3 pi-liveset.ogv

