Jellehavermans:focalcameraworkshop: Difference between revisions
No edit summary |
No edit summary |
||
| (4 intermediate revisions by the same user not shown) | |||
| Line 1: | Line 1: | ||
'''Idea''' | |||
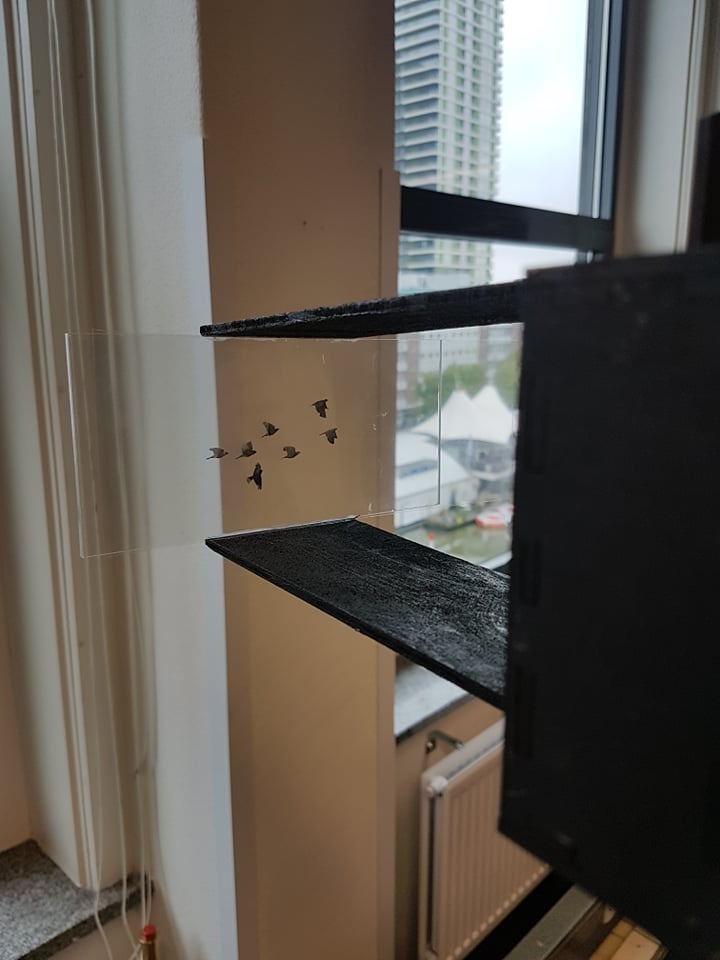
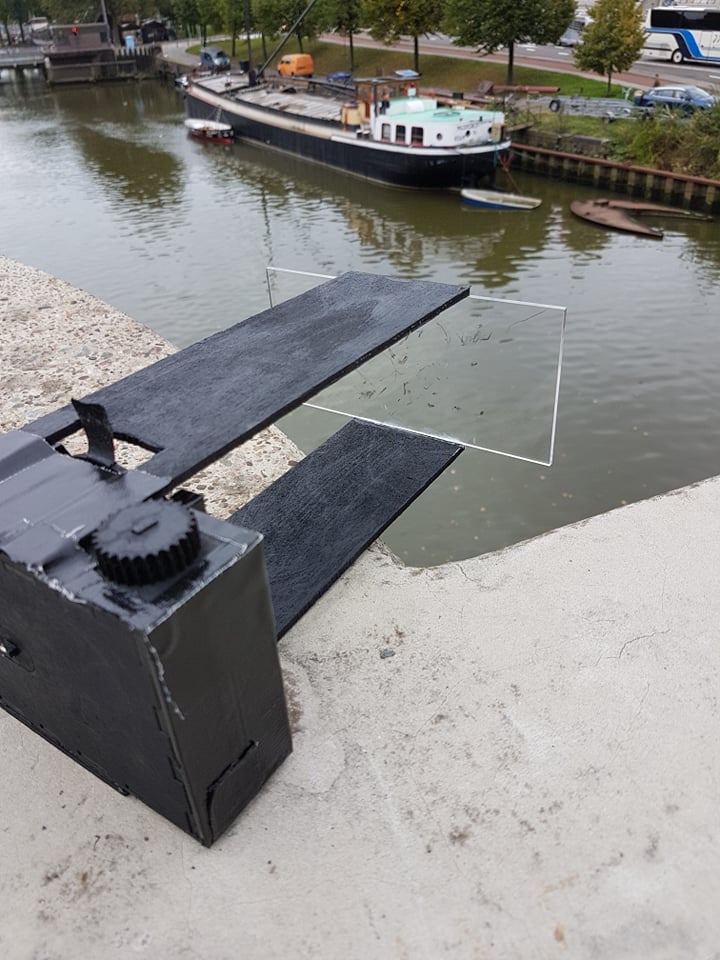
The idea was to create a pinhole with a ‘matte painting’ glass in front of the hole. I chose to make a pinhole because it was probably the safest way to get a relatively sharp image. I put a glass window in front of the camera, connected to the camera with two wooden pieces, holding the glass together. Then I used transparent paper, on which I printed some objects, to create a technique that was flourishing in the 50s and 60s. | |||
[[File:Focalcamerabody1.jpg]] | |||
[[File:Focalcamerabody2.jpg]] | |||
'''Focal Camera results''' | '''Focal Camera results''' | ||
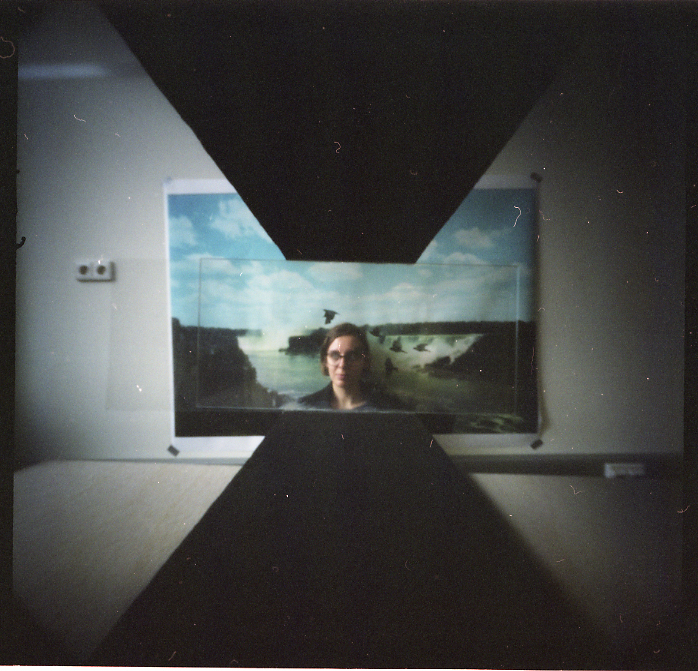
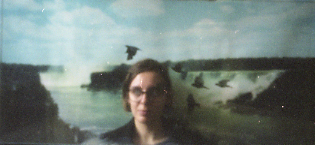
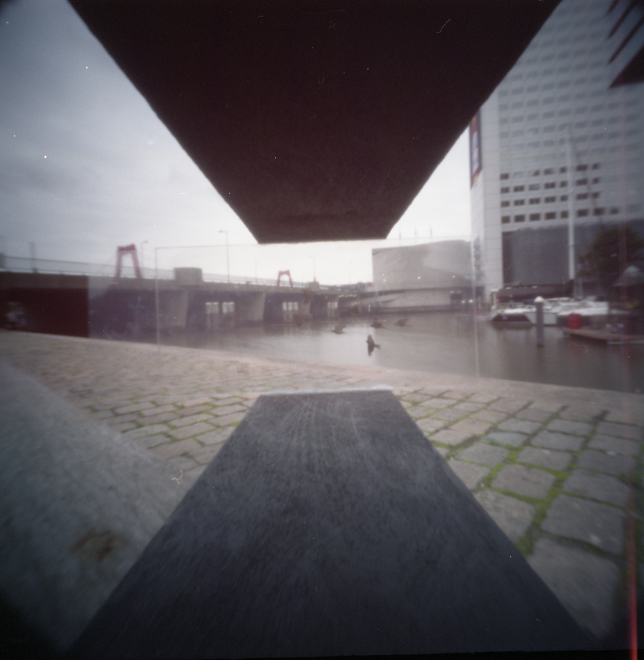
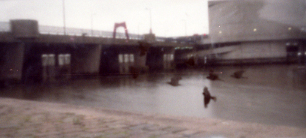
I was really surprised by the results; Matthijs and I thought it would show us just the small glass rectangle, but instead you can see the entire structure in each photo. It gives a funny effect, because you get this pictures with a strong central perspective and the actual frame is really small inside of the big frame. The transparent sheets with small objects and drawings give a fun result and can actually be used to add something to the picture. On one of the pictures the printed birds look very real, so it’s definitely a successful experiment. | I was really surprised by the results; Matthijs and I thought it would show us just the small glass rectangle, but instead you can see the entire structure in each photo. It gives a funny effect, because you get this pictures with a strong central perspective and the actual frame is really small inside of the big frame. The transparent sheets with small objects and drawings give a fun result and can actually be used to add something to the picture. On one of the pictures the printed birds look very real, so it’s definitely a successful experiment. | ||
I’m really happy with the sharpness (relatively) of the images. However, I don’t think I’ll use this technique so I might just remove the structure of the camera and use it as a regular pinhole camera. I can also just put a transparent sheet right in front of the camera and see if it gives a cool result. | I’m really happy with the sharpness (relatively) of the images. However, I don’t think I’ll use this technique so I might just remove the structure of the camera and use it as a regular pinhole camera. I can also just put a transparent sheet right in front of the camera and see if it gives a cool result. | ||
Conclusion: I’m pretty happy with the results, although the pictures turned out completely different than I expected and exactly as expected at the same time. A very useful project in which I learned much about the camera as a tool itself. I’m amazed by the incredible quality a pinhole camera can produce and I like the unpredictability. | Conclusion: I’m pretty happy with the results, although the pictures turned out completely different than I expected and exactly as expected at the same time. A very useful project in which I learned much about the camera as a tool itself. I’m amazed by the incredible quality a pinhole camera can produce and I like the unpredictability. | ||
[[File:focalcamera1.jpg]] | |||
[[File:focalcamera11.jpg]] | |||
[[File:focalcamera2.jpg]] | |||
[[File:focalcamera22.jpg]] | |||
[[File:focalcamera3.jpg]] | |||
[[File:focalcamera33.jpg]] | |||
[[File:focalcamera4.jpg]] | |||
[[File:focalcamera44.jpg]] | |||
Latest revision as of 14:59, 15 October 2019
Idea
The idea was to create a pinhole with a ‘matte painting’ glass in front of the hole. I chose to make a pinhole because it was probably the safest way to get a relatively sharp image. I put a glass window in front of the camera, connected to the camera with two wooden pieces, holding the glass together. Then I used transparent paper, on which I printed some objects, to create a technique that was flourishing in the 50s and 60s.
Focal Camera results
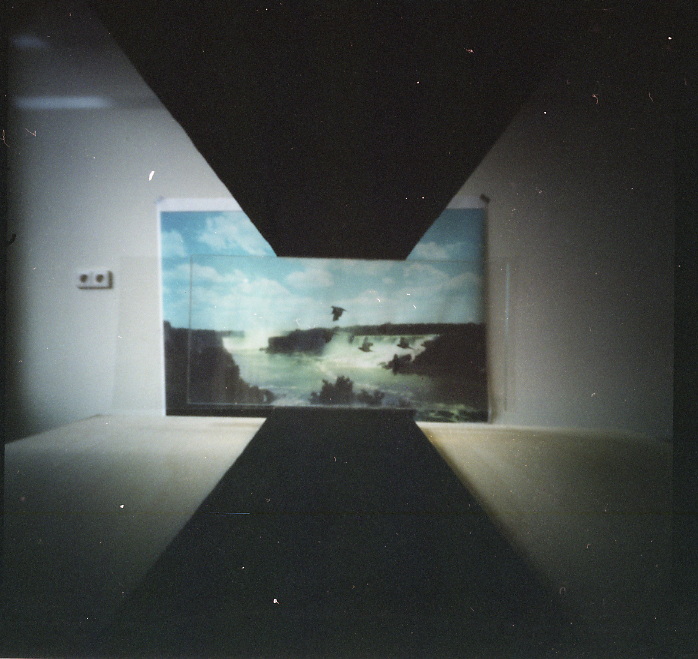
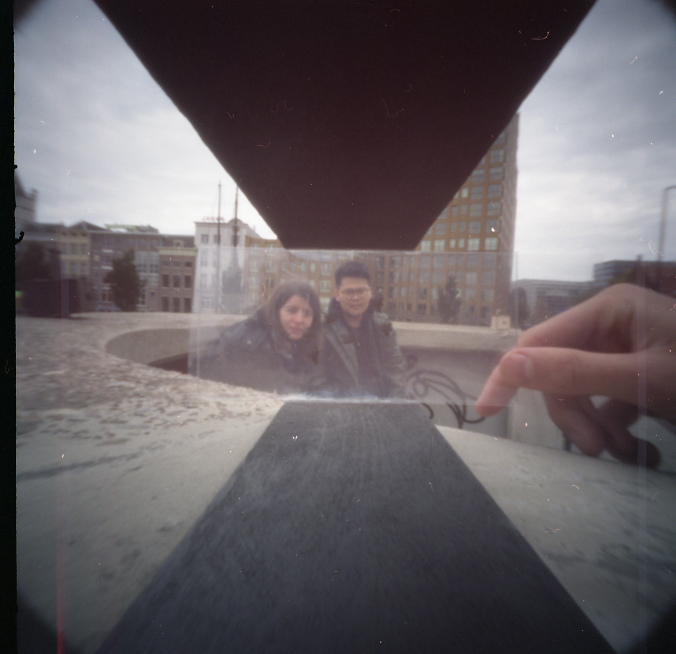
I was really surprised by the results; Matthijs and I thought it would show us just the small glass rectangle, but instead you can see the entire structure in each photo. It gives a funny effect, because you get this pictures with a strong central perspective and the actual frame is really small inside of the big frame. The transparent sheets with small objects and drawings give a fun result and can actually be used to add something to the picture. On one of the pictures the printed birds look very real, so it’s definitely a successful experiment.
I’m really happy with the sharpness (relatively) of the images. However, I don’t think I’ll use this technique so I might just remove the structure of the camera and use it as a regular pinhole camera. I can also just put a transparent sheet right in front of the camera and see if it gives a cool result. Conclusion: I’m pretty happy with the results, although the pictures turned out completely different than I expected and exactly as expected at the same time. A very useful project in which I learned much about the camera as a tool itself. I’m amazed by the incredible quality a pinhole camera can produce and I like the unpredictability.

